Back in those days of blissful ignorance called childhood, the appearance of a camera prompted exclamations of “Cheese!” and sneakily placed bunny ears fashioned from phalanges. Then we grew up, and realized that getting pics we like as adults often involves a little more effort than shouting the name of a dairy product.
Posing can feel inauthentic and awkward, leaving us to freeze up before the shutter snaps and then untag the pics we don’t like. If you’ve ever thought “Ahhh! Camera! What do I do?!” Check out these six photo poses. Try ‘em out in the mirror and see what feels right to you—maybe you’ll discover that thinking about posture betters your odds of getting pictures you like, or maybe you’ll revert to yelling “cheese!” Either way, enjoy feeling a little silly, remember that there’s no such thing as a bad side, and start loving all of your pics.
1. Straight-on

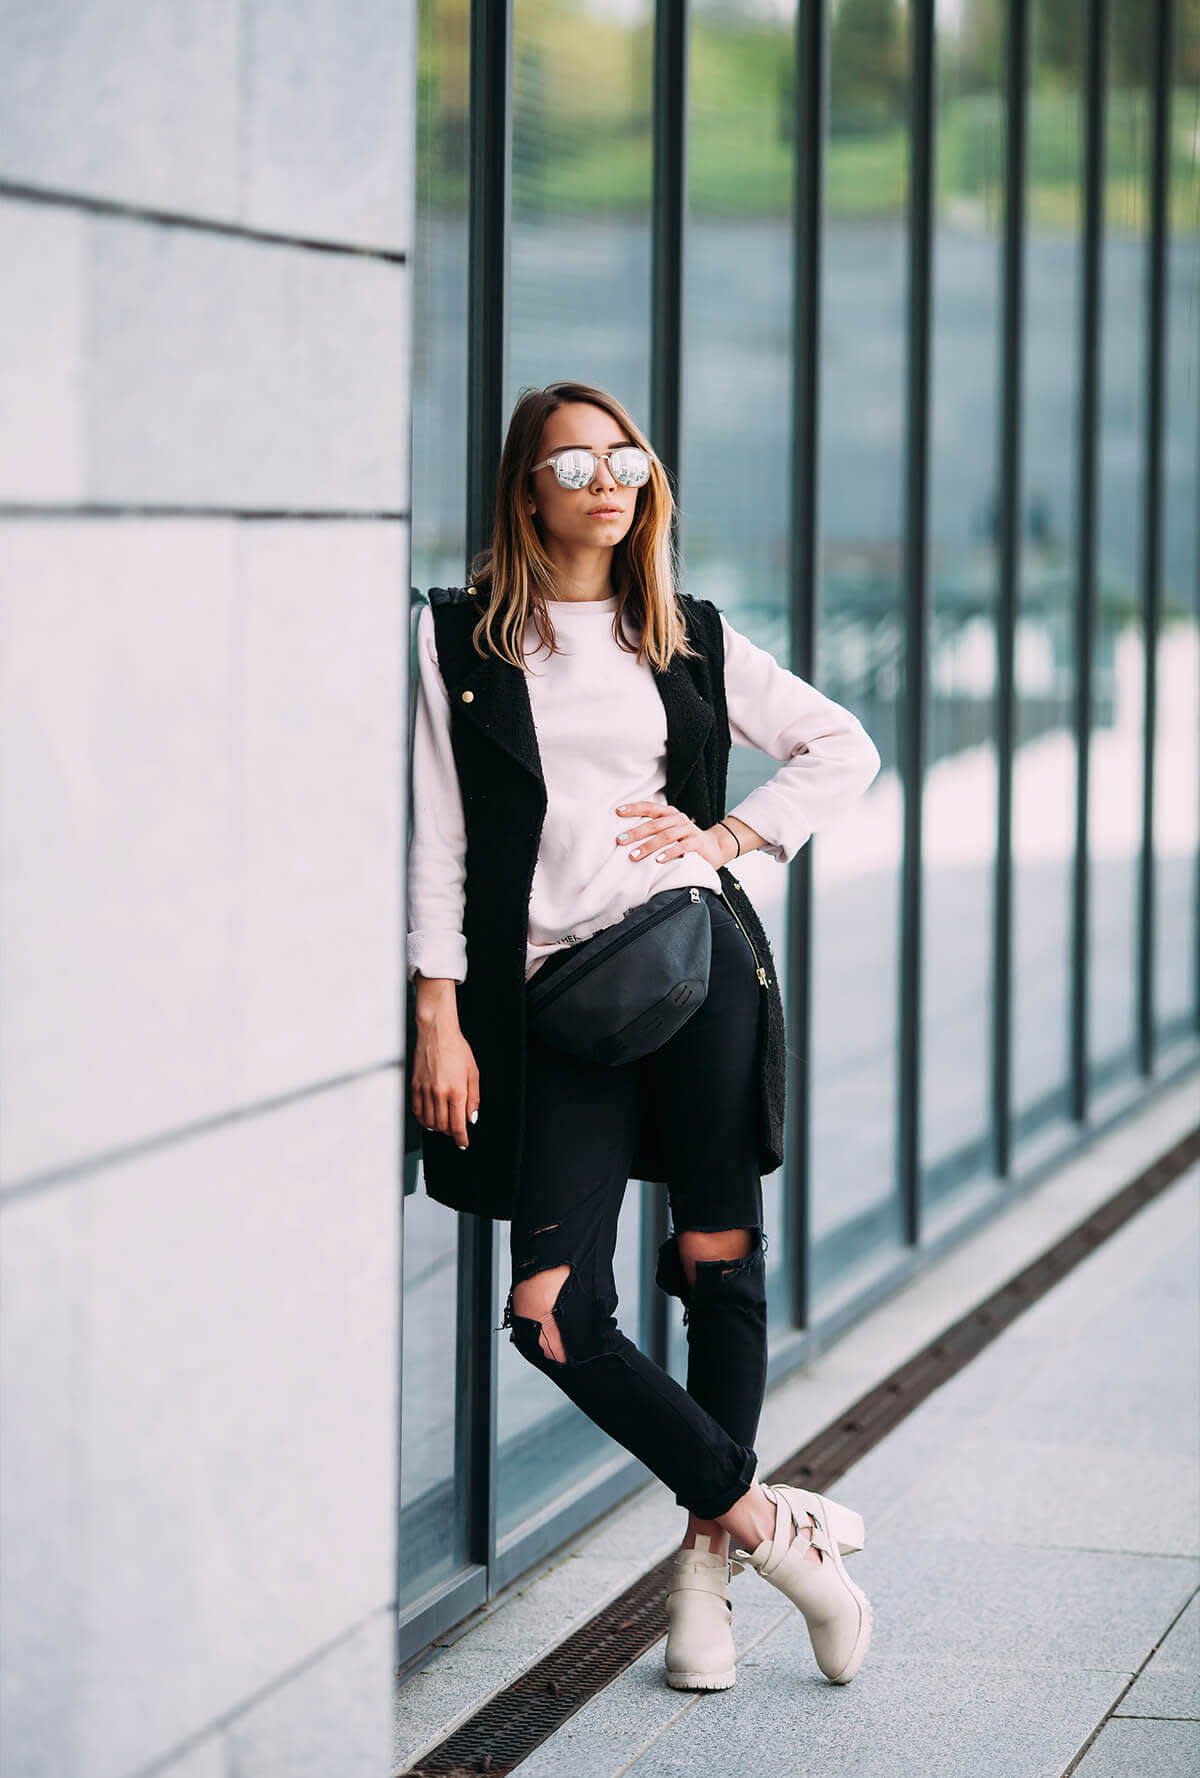
The crossed-ankle shot is a fave of many Instagrammers. Give it a little bit of lean for a casual, almost-candid look.
A great straight-on shot looks powerful and can portray confidence. However, they often turn out unflattering and can look a bit stiff. To master the straight-on shot, try crossing your ankles at the calf (this narrows your hips and lengthens your legs). You can also slightly spread your legs apart, or place more weight on one leg and kick the other out a bit. Your shoulders will appear less wide if you twist them slightly, or square them up with the camera for a real power shot.
When it comes to your arms, there are only two things to remember: don’t leave them hanging lifelessly next to you, and only smoosh them against your body if you want them to appear larger. Here are a couple arm ideas to play around with:
Bend your arms at the elbow and lightly bring your fingertips together/intertwine your fingers.
Pull your shoulders back and let your arms dangle slightly behind you.
Put one or both hands on your hips or in your pockets.
Make use of an accessory, like hanging one arm on the strap of a shoulder bag.
2. Classic 45 degree

Try facing 45 degrees from the camera and then turning your torso back toward it to get a flattering photo.
This pose is as classic as a camel-colored trench coat wrapped around a Coca Cola bottle. Turn your body about 45 degrees from the camera and twist your torso so that your chest is almost facing it straight on. Some posing experts also recommend putting your weight on your back foot and pointing your front foot toward the camera.
When it comes to those arms, you can go with the more-posed “teapot” look, with your camera-facing arm on your hip (a celebrity red carpet fave) or try any of the options listed above.
3. Seated

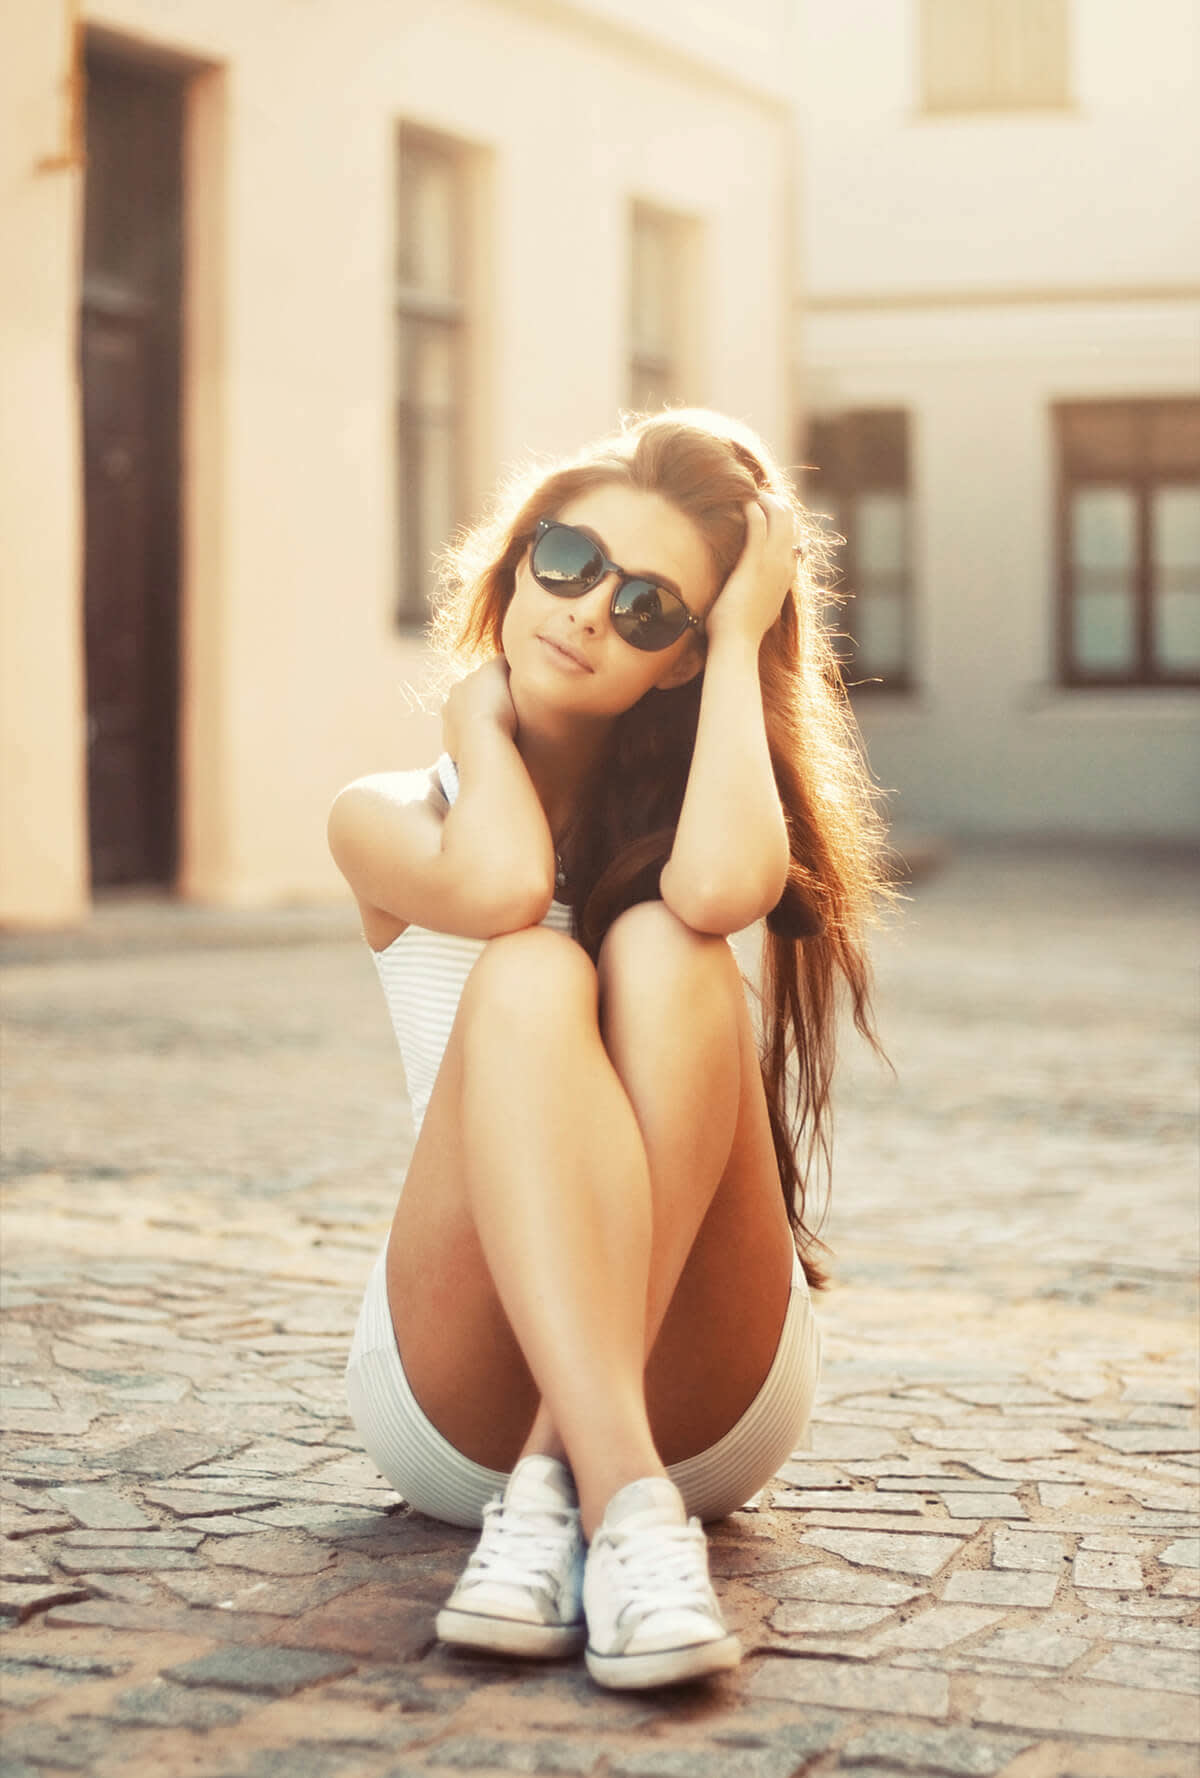
If you’re plopping down on the sidewalk for a pic, keep posture in mind and try crossing your ankles.
If you’re giving your legs a break when the camera appears, remember to avoid both slouching and settling back into your chair—fashion and portrait photographer Lindsay Adler demonstrates why in this video about seated poses.
However you’re sitting, remember that things closest to the camera appear larger. If you want to fill the frame and look like a bigger human, lean forward with your legs apart.

Sit near the edge of your chair when posing for a seated photo, and remember what your momma always told ya—don’t slouch!
If that’s not the look you’re after, sit near the edge of your chair/bench/gilded throne and put your knees together, try crossing your ankles, or bend one leg in a 90 degree angle and extend the other.
If you’re on a bench, try placing your palms down on either side of your body. You can also fold your hands and lay them on your lap, or place your hands on your knees.
4. Downcast look

Eye contact is great and all, but looking down makes for some seriously stunning shots.
Many a fashion blogger loves the downcast look. Here are a few favorite versions that have gained popularity:
Face 45 degrees away from the camera, turn your torso back toward it, and glance over one shoulder.
Face forward, cross your ankles or put more weight on one leg, and slightly turn your head while looking down. Bring a hand to your temple.

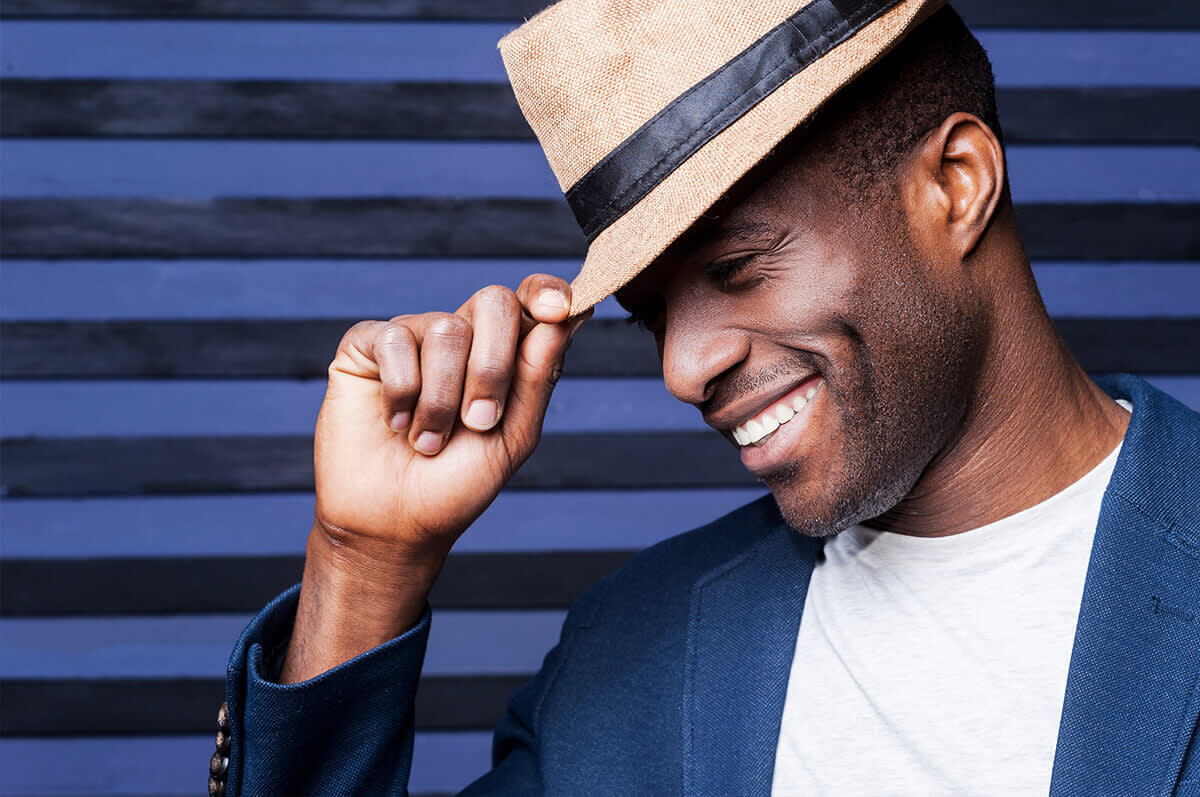
We’re tipping our hat to accessories. Try making use of a hat, bag, scarf—whatever you’re wearing—when posing for a pic.
To get a candid look, try walking toward the camera and glancing slightly to one side and down.
A downcast look gives you some variety in your pictures, and you might find some spare change while checking out the sidewalk (bonus!).
5. Headshot

Shadows help show off the lovely angles of your face. Try slightly turning and angling your noggin to get a headshot you’ll love.
Unless koala bears regularly cling to your legs, you’re probably not posing for full-body shots all of the time. To get a great headshot, angle your head slightly—this causes shadows to show off all those lovely angles of your face. However, keep in mind that you want your head placement to look natural. Turning too much to the side causes your nose to break the line of your face, which is great if you’re going for a profile shot but not ideal otherwise.
Those dreaded double-chin shots are the posing equivalent of toilet paper preferences—everybody has them, but nobody wants to talk about it. To make sure you don’t end up with an unflattering pic, press your tongue to the roof of your mouth (you’re trying it right now, aren’t ya?). Lengthen your neck by thinking of bringing your ears forward, and tilt your chin down a touch.
Remember when we said that things near the camera look bigger? Use that to your advantage—if you want your lips to look a little fuller, slightly part them and blow. If you’re worried about a weak chin, bring it a little toward the camera.
As for your arms, do what feels comfortable. Cross them, leave them by your sides and pull your elbows back to create some space next to your body, bring a hand to your temple—it’s all about the good feels.
6. Group step

Create a non-posed group shot by walking toward the camera with your crew.
Taking photos with friends is a great way to preserve memories, but nobody wants to look like they’re in an overly choreographed, Rockette-worthy kickline. The best group shots happen when people look natural and poses are diversified. Pay attention to what the people next to you are doing, and change it up a bit—loosely cross your arms in front of you or place one on your buddy’s shoulder. Remember the importance of posture and spread your feet apart slightly, step one foot slightly in front of the other, or cross your ankles. And above all, don’t think too much about it. Have fun and enjoy the moment!
Final polish
Once you’ve got a virtual stack of killer shots, remember that you can amp them up even more with a few basic edits and fine-tune them with PicMonkey’s touch up tools. Great pics are only the beginning for you, creative genius—get extra creative with graphics, or showcase your favorite images with Collage.
