We’re up on cloud nine about our new save custom effect feature, which allows you to save any combination of PicMonkey photo filters into your own unique effect. In fact, we’re way above cloud nine about this, we’re up on cloud eleventy-three high-fiving unicorns.
And before we run out of oxygen up here, we want to get you brewing your own small-batch custom effects. So today, we’re handing out the recipe to one of our favorite photo filter combos—a look we’re calling That 70s Glow. Behold!
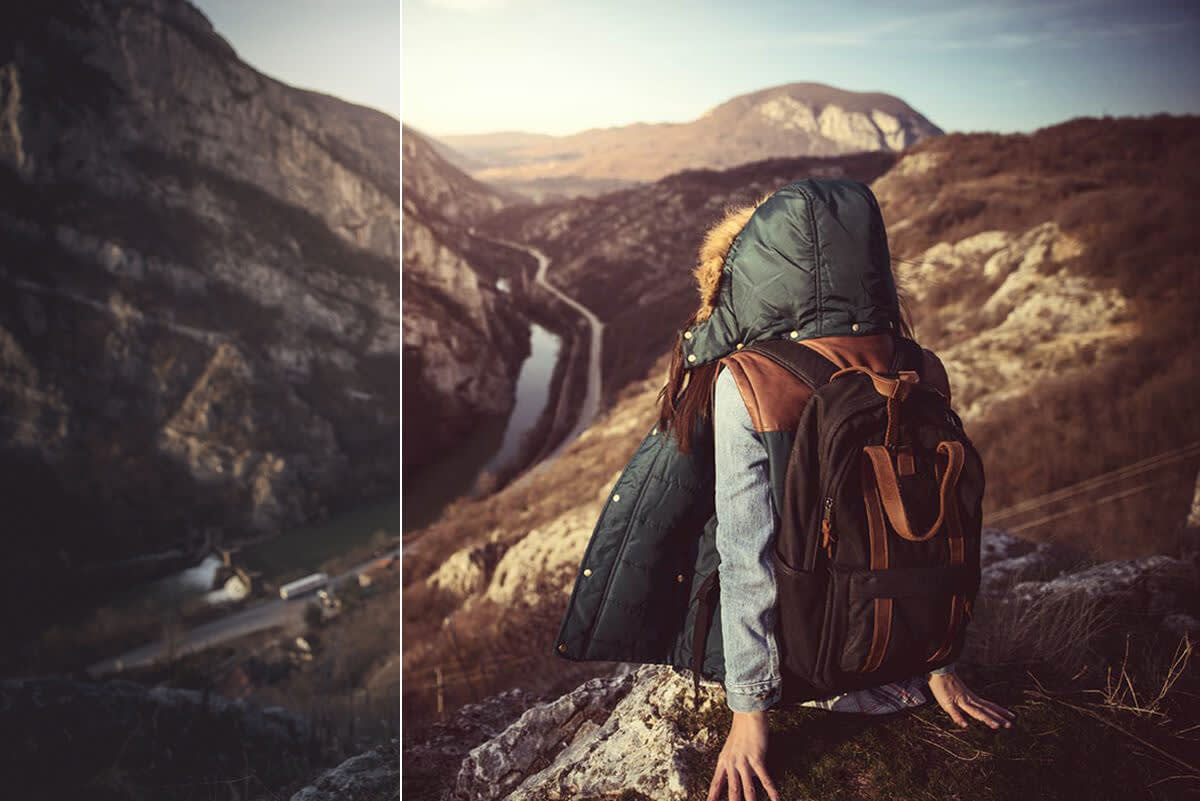
We think of this little number as the faded vintage tee of photo effects: bright and desaturated, it reminds us of beach photos from the 1970s. It looks great on everything from portraits and selfies to foodstagrams, so with summer fast approaching, it’s a great combo to add to your photo editing arsenal.
Here’s how to recreate this recipe for yourself:
Open the Editor and skedaddle over to the Effects tab. If you’re logged in and have a PicMonkey membership, you’ll see the Save custom effect button at the top.
Apply the following photo effects:
Film Stock. Velvia, no fade. Velvia refers to a type of film favored by nature photographers in (you guessed it) the 1970s. Our digital tribute warms up earth tones, enhancing contrast and sharpness.

Left: the original photo. Right: Film Stock (Velvia) added.
Tri-X. 1600. Here’s some trippy news for you: there is no such thing as Tri-X 1600.
Not in the wild, anyway; our version refers to a photographic process known as pushing, where underexposed film (in this case, Tri-X 400) is left in a chemical bath for a super-long time until its image surfaces, heightening the contrast and grain of the final image. Tri-X, the world’s best-selling black-and-white film, is especially tolerant of this technique.

Left: original photo with Film Stock (Velvia) applied. Right: the same photo, with Tri-X (1600) added and faded to 50%.
Additionally, we want to desaturate our photos with this photo effect recipe, not totally black-and-white-ify them, so we’ll set the fade on Tri-X to 50%.
Rapture. Our beloved Rapture provides images with a rosy glow. Again, we’ll bump up the fade (from its 20% default to 30%) to help our photo effects play nicely together.

Left: original photo with Film Stock and Tri-X applied. Right: final photo, with Film Stock, Tri-X, and Rapture (faded to 30%) all applied.
Click Save custom effect and name it. (You don’t haaaave to call it That 70s Glow, but um, why wouldn’t you?)
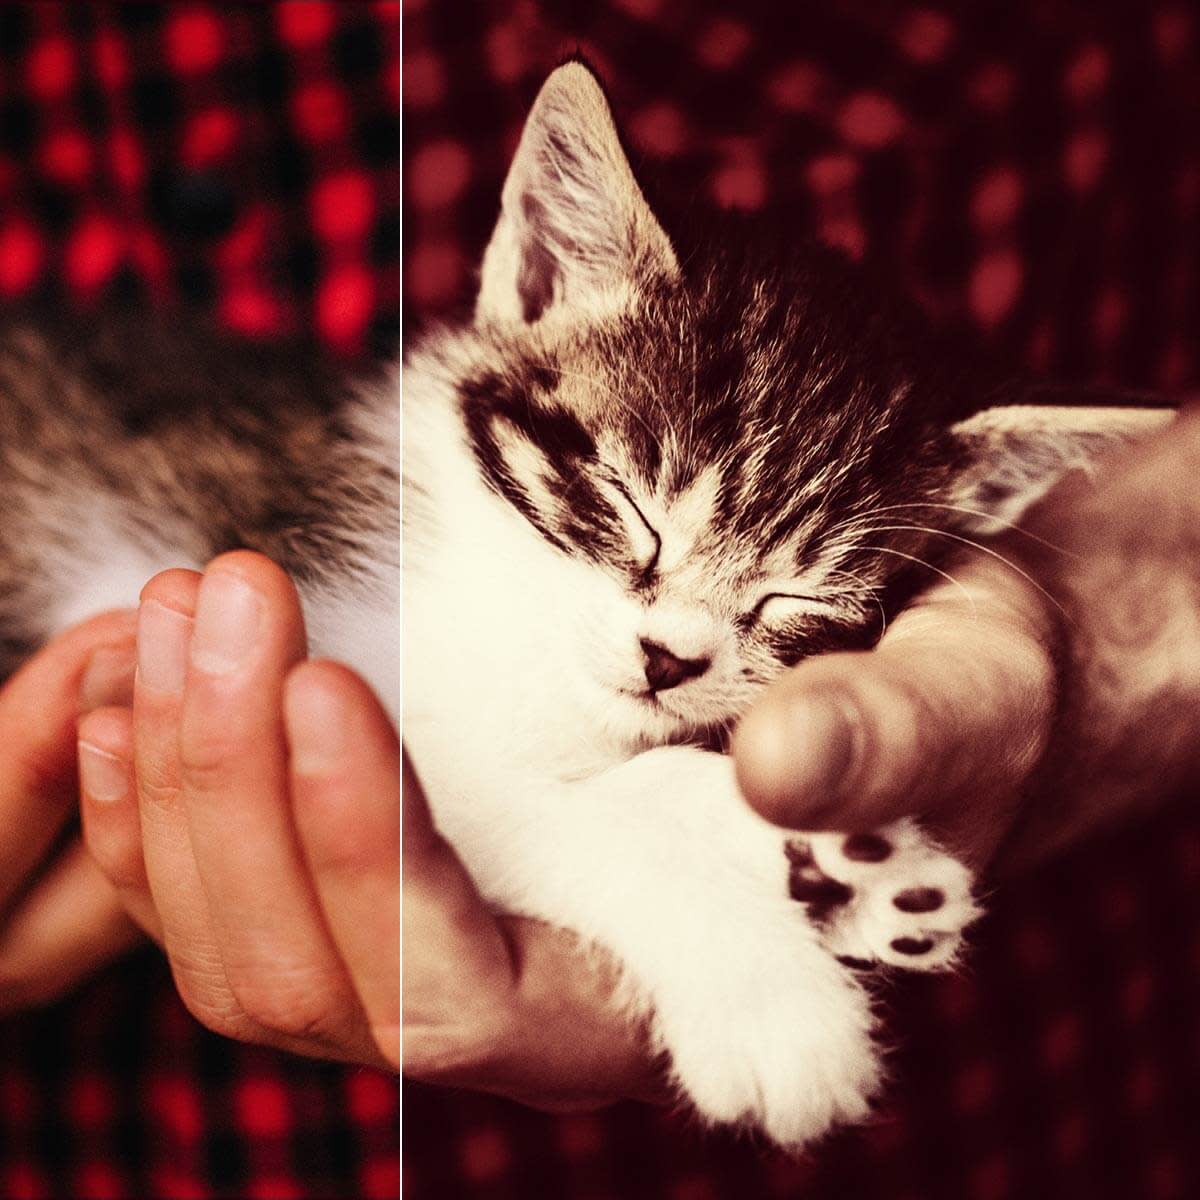
Left: original image, before all this custom photo effect magic. Right: the image with Film Stock, Tri-X, and Rapture applied.
Just like that, whenever you want to start a disco beach party, it’s only a click away. And now that you’ve prepared this custom effect recipe, you’re in good shape to make more.
For instance, you can create a custom effect tailored specifically to landscape shots by starting with the base of our That 70s Glow recipe (Film Stock, Velvia, no fade), then adding a teeny-tiny pinch of HDR (dial Radius down to 1, Intensity to 175%, and Fade to 5% or so). This gives you the contrast and warmth of Velvia, plus bonus sharpening to make your scenery pop.
This is why we’re so jazzed (and punk-rocked, and R&B’d) about custom effects, by the by: they’re not just time-savers; they’re a lifestyle thing. When warmer weather comes knockin’, people put their turtlenecks in storage and get all about that ease and breeze, are we right? So why, oh why, should you have to spend tens of minutes calibrating each of your pics so they look as effortless as you felt when you were snapping them?
That’s a cruel irony. And cruel ironies make us frowny-face.
In conclusion: ditch irony, save your own custom photo effects, look good, save time. And by all means, tinker with our recipe to see if there’s a version you like better! You can save as many custom effects as you want, so why not experiment?
