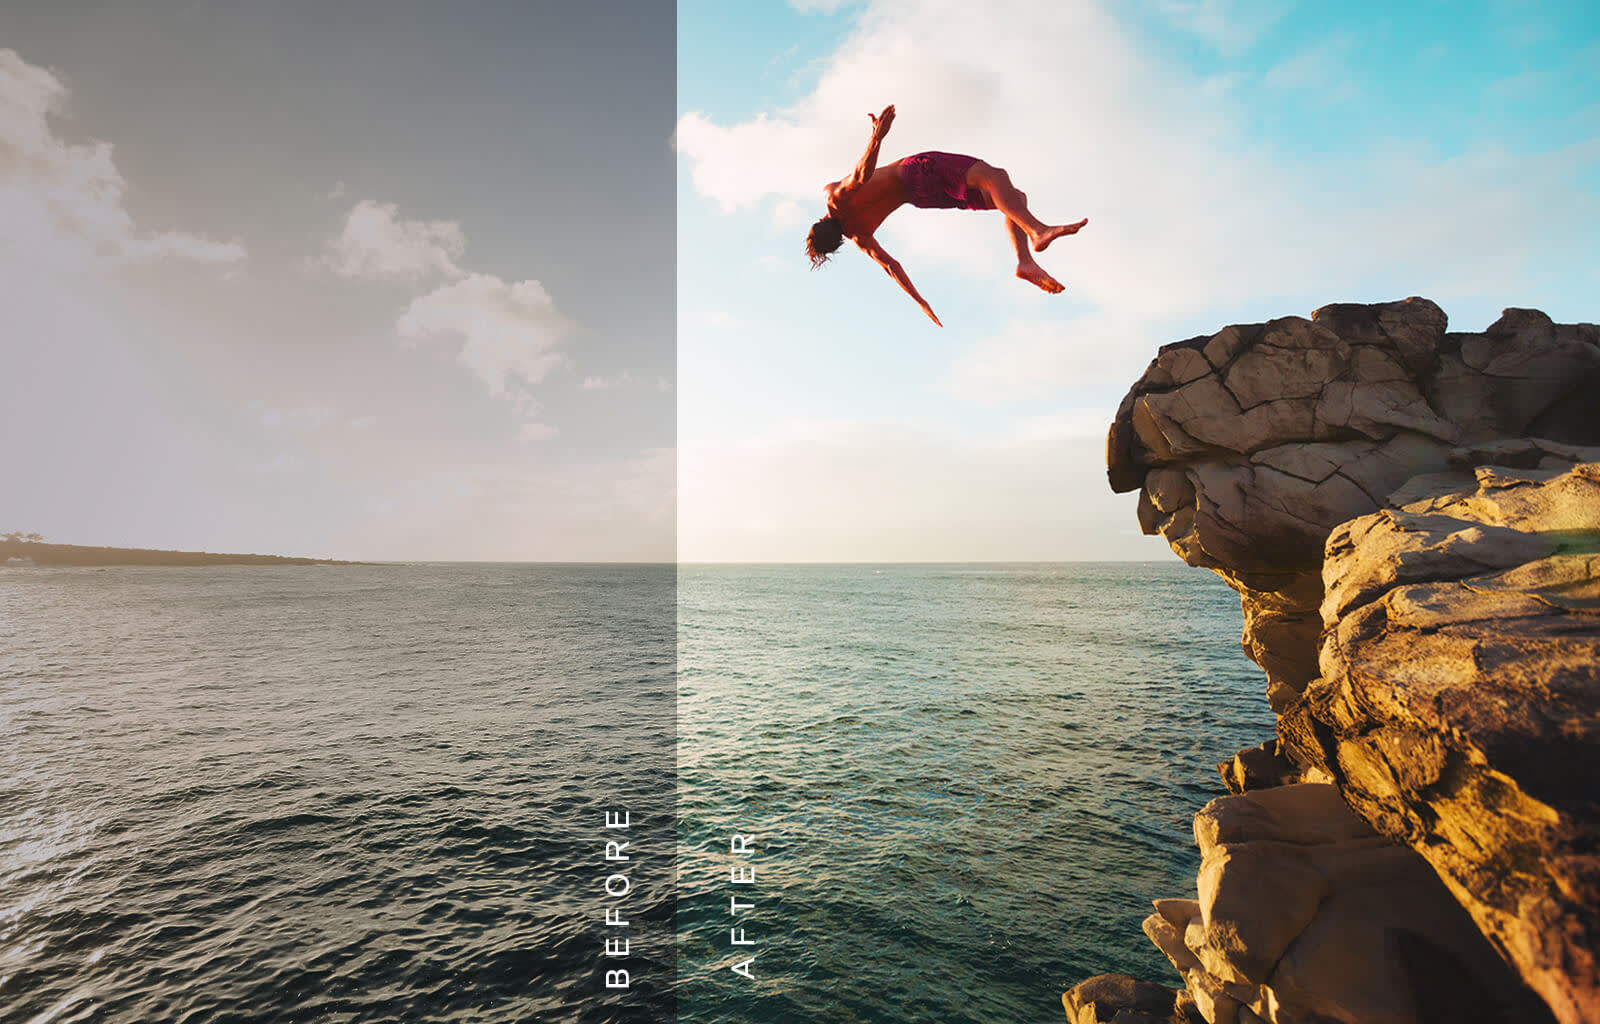
An underexposed photo often looks a bit off. Maybe your camera was confused by tricky lighting, or you forgot to change the manual settings. If you weren't purposely trying to capture an underexposed look in your image, then here's how to fix that way-too-dark photo of yours in PicMonkey.
What is exposure?
Exposure is a pillar of photography 101. When you take a picture, a certain amount of light reaches the camera film or your camera's sensor as the photo is snapped. Exposure is a measurement of said "certain amount of light."
Underexposure
Too little light gives you an underexposed image. As mentioned, it might look a bit off, primarily because the image is too dark.
Overexposure
The exact opposite. Too much light and you're left with an image that looks washed out, with little to no detail in its highlights.
Correct exposure
Photography is art, which means exposure can be a creative choice. That said, no one wants to hear you tell them that your super dark photo is "INTENTIONAL AND FULL OF SYMBOLISM" when you know it's not.
If you're aiming for neutral exposure, then you're living the story of Goldilocks and the Three Bears. Not too dark, not too light. Juuust right. PicMonkey's Exposure tool helps you achieve this balanced, natural-looking result.
How to fix an underexposed photo in 3 steps
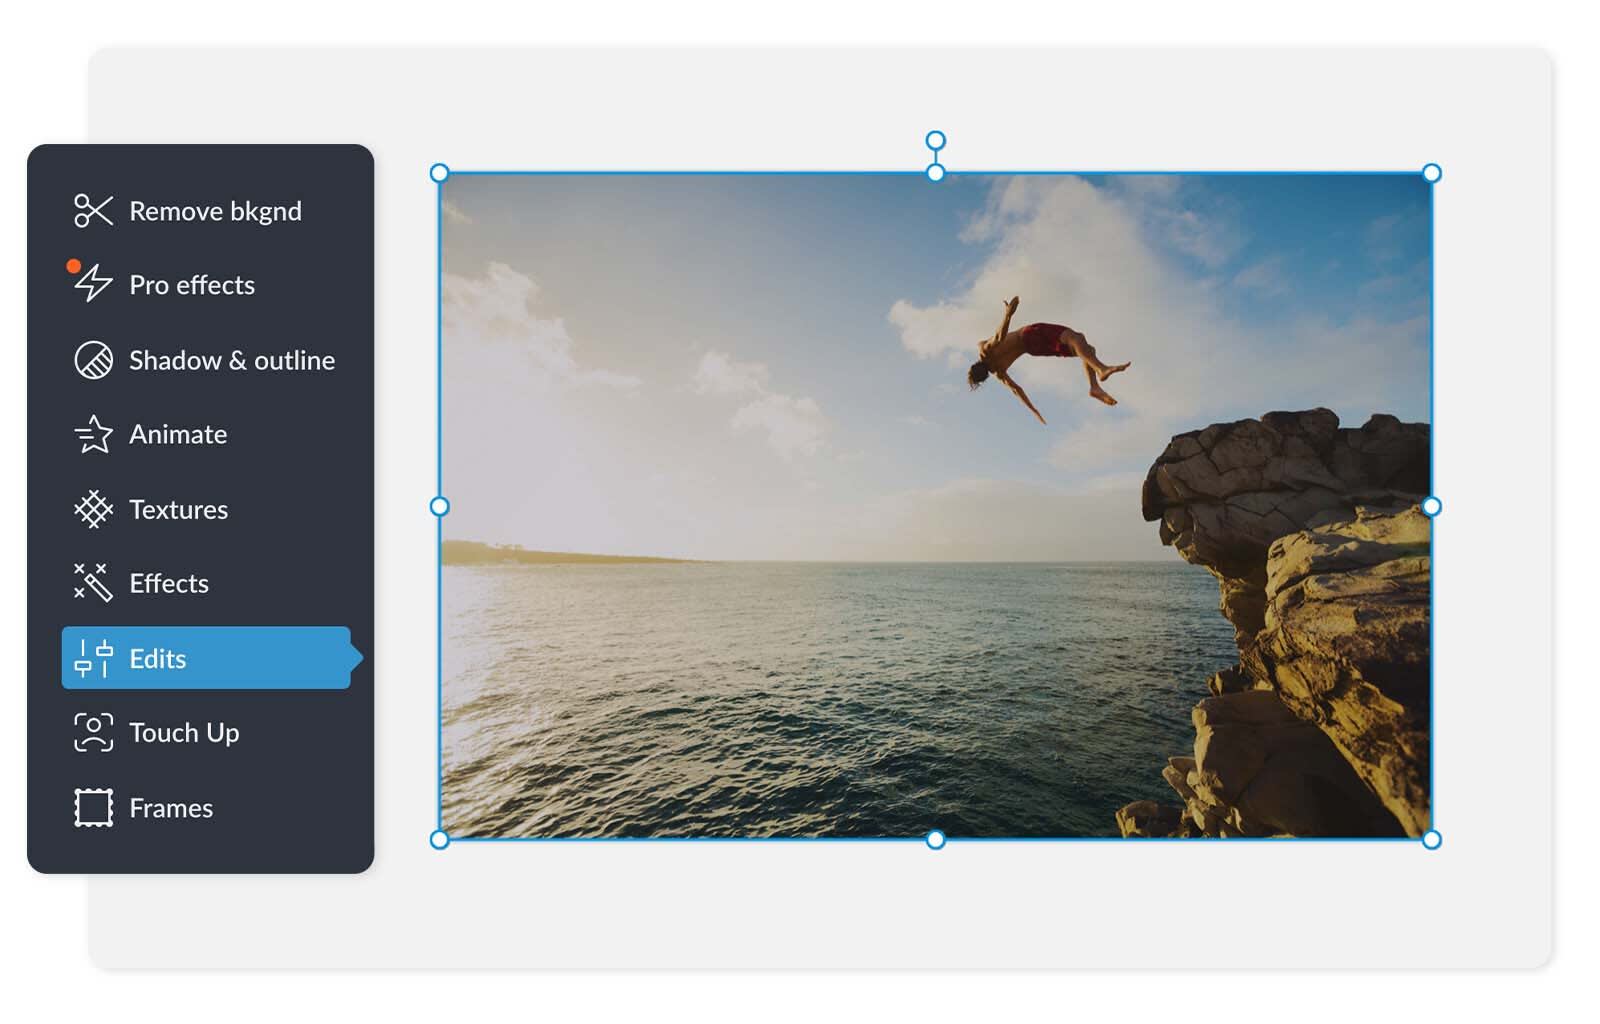
With your image open, click Edits on the left tabs menu.
Open the Exposure tool.
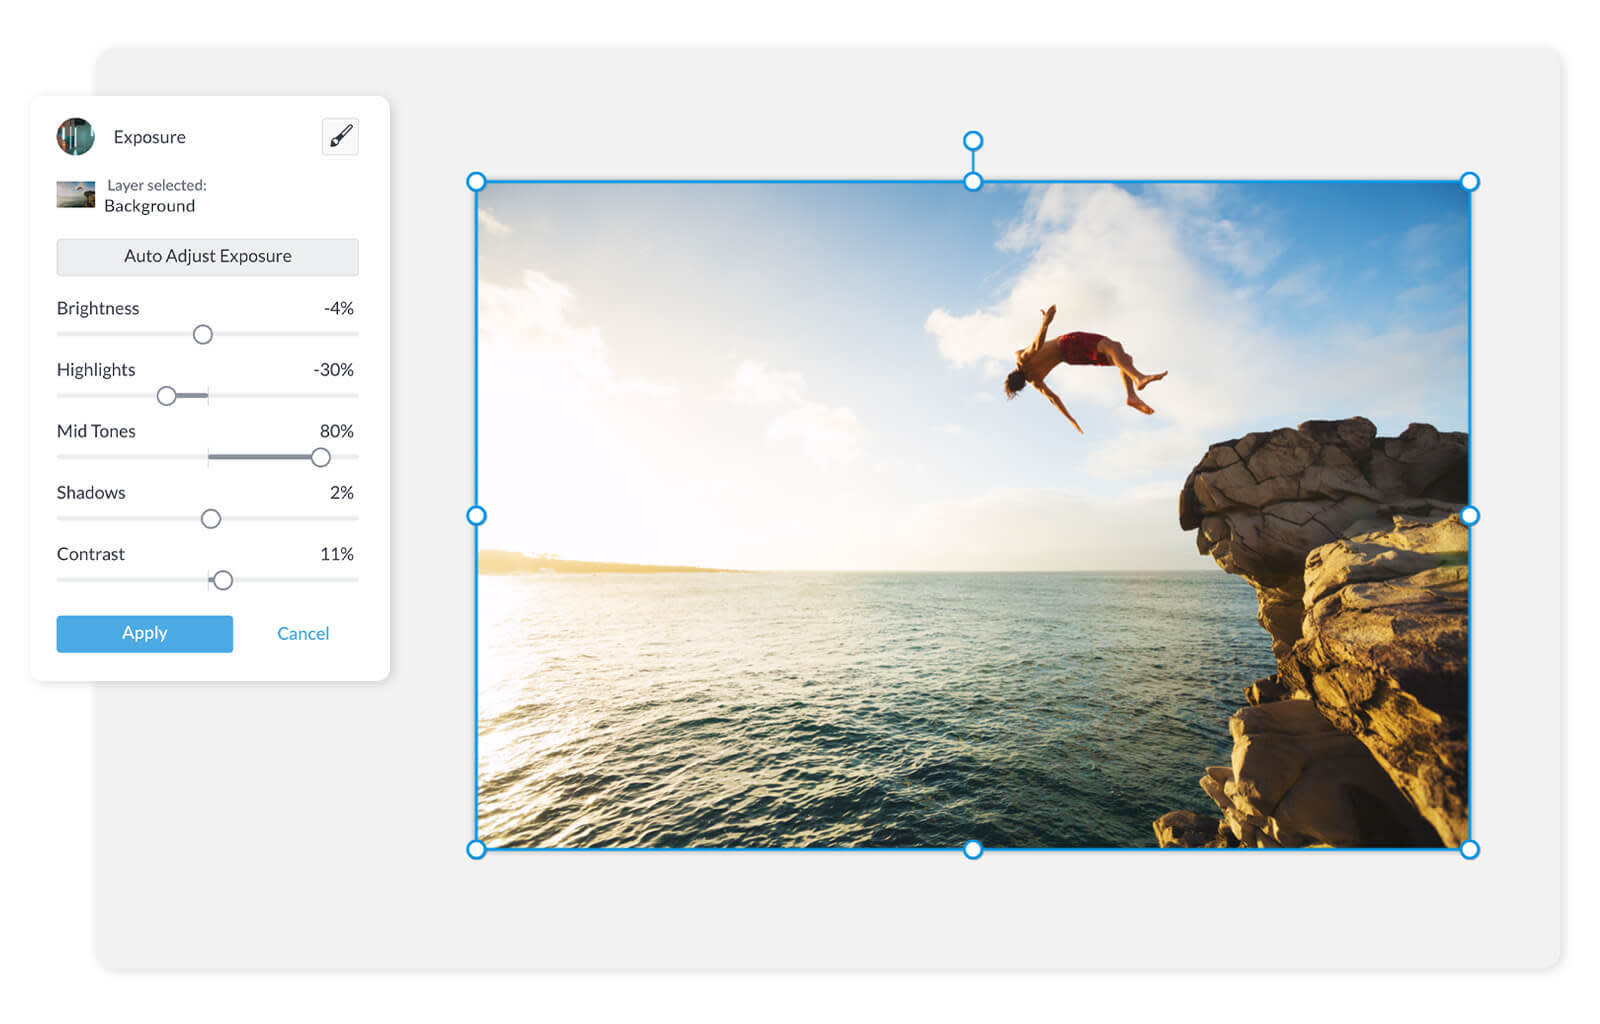
Click Auto Adjust Exposure, or DIY with the control sliders.
1. Click Edits on the left tabs menu

On the PicMonkey homepage, click Create new > Computer and select your underexposed image. It will appear in the Editor. Then click Edits on the left tabs menu.
2. Open the Exposure tool

Find the Exposure tool (under Basic Edits).
The fastest and easiest way to fix your exposure-gone-wrong is by clicking Auto Adjust Exposure. It's a one-click fix!
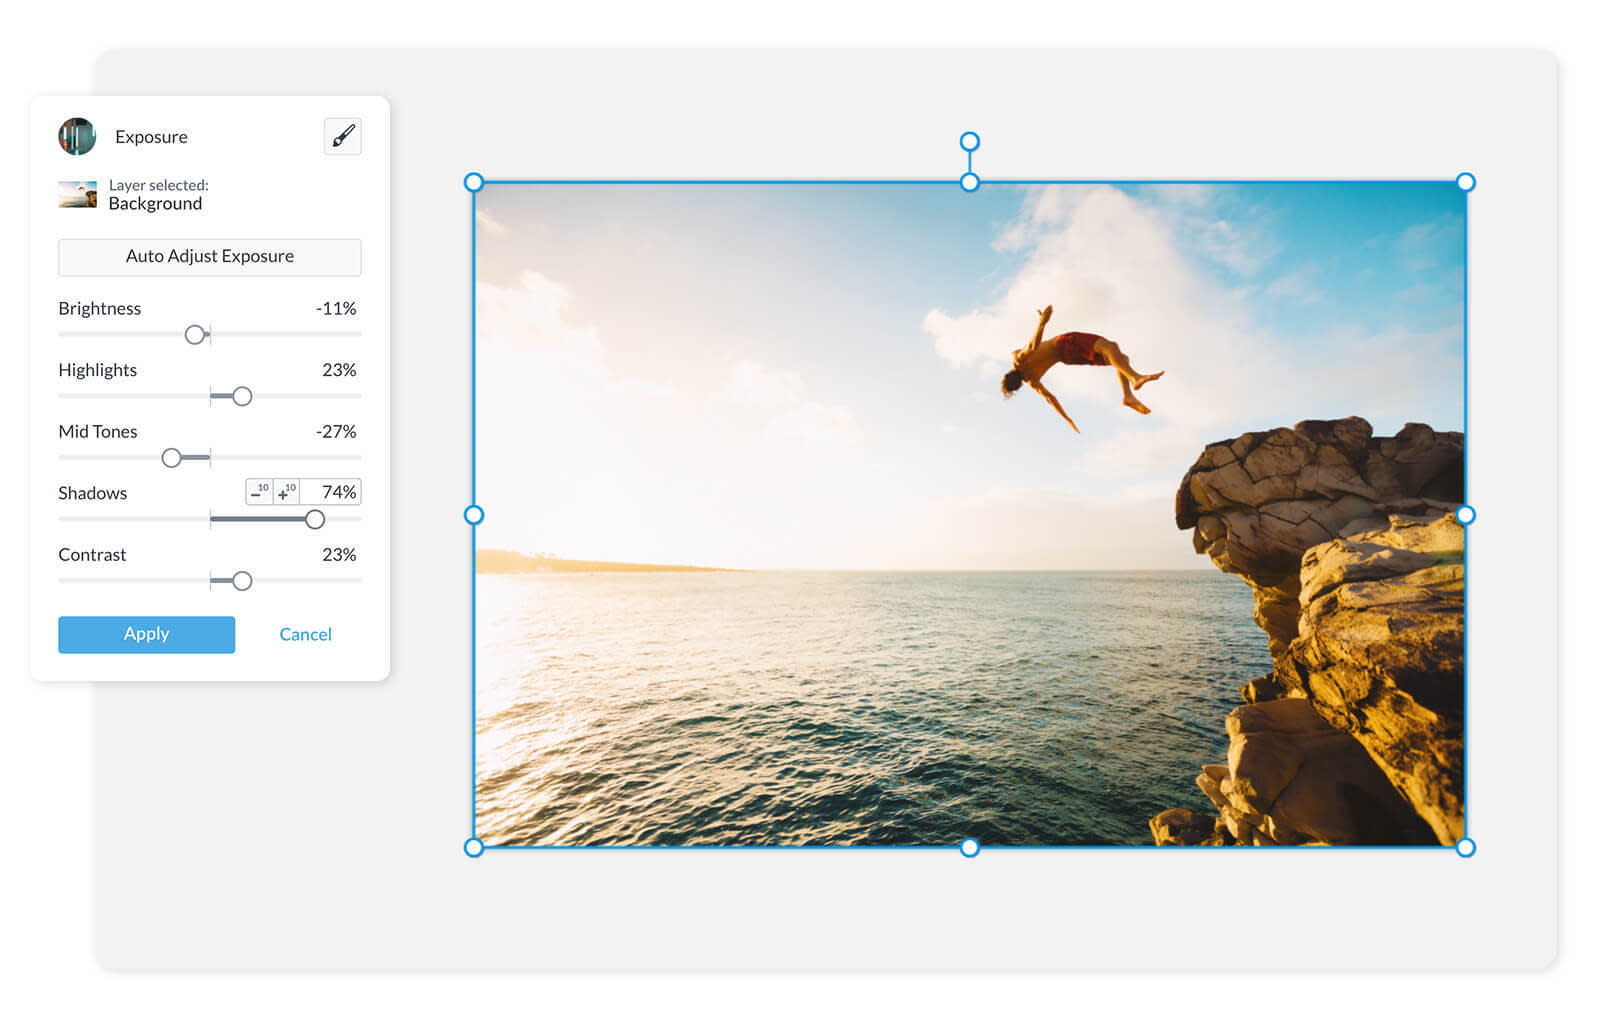
3. Customize your look

You can further tweak the Brightness, Highlights, Shadows, Mid Tones, and Contrast sliders until your image looks right.
Brightness: Controls the overall exposure of your photo.
Highlights: Shifts the brightest tones in your photo, making them either lighter or darker.
Mid Tones: Use this slider for middle-ground tones.
Shadows: Opposite of Highlights — controls the darkest tones in your photo, making them either lighter or darker.
Contrast: Controls the difference between light/dark tones across your photo.
That's that! Photo: fixed. And if you ever need to fix an overexposed photo, it's the same dealio — just upload to PicMonkey and start with Auto Adjust. Hello, gorgeous photography.
