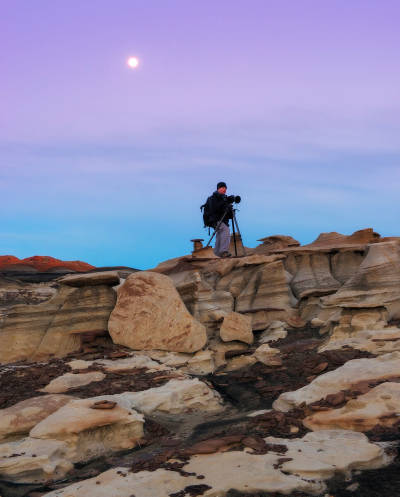
Lunar eclipses are a fantastic opportunity to capture the beauty of our celestial partner, the moon, and share in the wonder of the night sky with all of humanity. Even when there’s no lunar eclipse, you can get some gorgeous shots — following are some tips I’ve picked up over the years.
Getting ready
Photographing the moon requires a little preparation, mainly because it is actually quite bright. It’s very easy to wind up with a picture of a super white blob, and a black sky, whether you’ve taken it with a smartphone or your fancy DSLR. The trick is to get your camera’s light meter to read the moon to the right level.
To see what you’re up against, look at the moon with a smartphone camera app. Tap on the moon and then slide your finger up and down and you will see the brightness go up and down while you do so. Slide it until you get the right exposure to see the detail in the moon and take the picture. Now it still may be small, so you can zoom into the moon by “pinching out” on the screen (drag two fingers away from each other at the same time). This will, however, emphasize two other typical problems when shooting the moon; namely camera shake and the atmosphere. Any small movements will be exaggerated when you’re taking a zoomed-in picture, so unless you have the steady hands of a surgeon, the more you zoom in, the more little jittering will affect your photo.
Shooting with a smartphone
If you have a camera app on your phone that allows you to set the shutter speed, try using something in the range of 1/30th of a second or faster, depending on how steady you are (some people can get away with 1/15th or even slower). Additionally, if the moon is low on the horizon, the atmosphere can blur the sharpness of the moon as the light goes through all the heat and crud floating in the air near the earth’s surface. There’s not much you can do about the air quality except find a very rural spot far away from lights and cities, shoot from a high elevation, or wait until the moon is higher in the sky (which may not coincide with the eclipse!). You can also try using an HDR camera app (blending 2 photos at different exposures together).

Harvest moon in black and white.
Shooting with a DSLR
Another approach is to use a higher quality camera than your phone’s, but the principles are the same. The difference is that now you are bringing the right equipment to bear on a naturally unique event. For this, I would recommend a sturdy tripod, a DSLR that you can set to manual mode, a quality lens (or lenses) with some reach (200-600mm range is best), a remote shutter release, a hoodman loupe, and a thermos of your favorite hot drink.
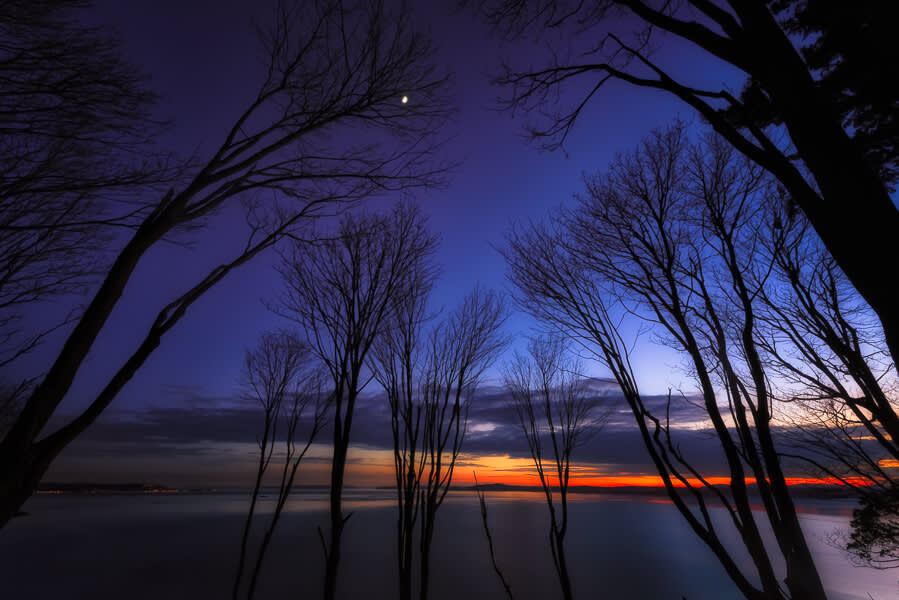
Nikon D800, 14-24mm. You can get a nice moon effect even with a super wide lens, but then your foreground becomes the subject, and the moon merely a visual accent.
The tripod
The tripod lets you avoid the camera shake you get while hand holding, and lets you pick very slow shutter speeds. But not too slow! The moon actually moves more quickly than you may think, so play with the shutter speed a bit if you’re getting a blurry moon. The remote shutter release also lets you reduce camera shake further. If you combine this with putting your camera in “mirror-up” mode, you will increase the likelihood of a sharp image (if you have a mirrorless camera, this won’t apply).
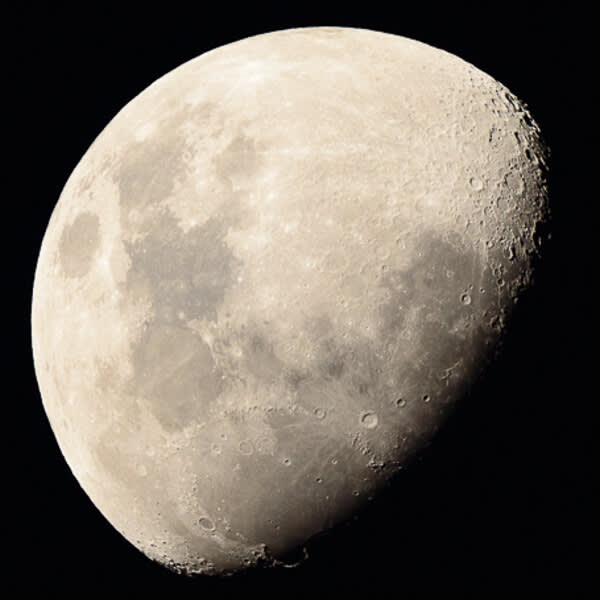
Nikon D810, 600mm Moon in Namibia. What we see in the northern hemisphere as the “top” of the moon is at the “bottom” of the moon in Namibia, making it appear upside down.
Checking your focus
Make sure you are in manual focus. The best camera for this is one that has “Live View,” which will allow you to check focus in real time as the camera’s sensor sees it. In Live View, zoom into the moon and focus until the zoomed image is tack-sharp.
Aperture, shutter speed, and ISO
Generally, exposure is manipulated by aperture, shutter speed, and ISO. There’s a rule called the “loony f11” rule for lunar photography. If I set my aperture at f11, or potentially f8, I get a certain set of possible shutter speeds and ISO. I pick an ISO of 200, which doesn’t have as much noise as much higher ISOs, and ensures the shutter speed is in a good range. The “loony f11” rule then states your shutter speed should roughly be 1/ISO at f11. So, in this case at ISO 200 and f11, my first attempt shutter speed is 1/200th of a second. From here, I can move my shutter speed up or down for proper exposure, or change aperture or ISO if I’d rather.
Remember that slower shutter speeds require a steadier platform for your camera and a slower moving object, while a higher ISOs will put more noise in your picture. Because it’s fairly dark out, noise won’t matter so much, and because it’s the moon and not a hummingbird, I can use a slower shutter speed if I’d rather (I could even hand-hold at 1/200th sec but I want the sharpest image possible. And a 600mm lens is super heavy). Aperture has some other nuances, but because depth of field isn’t an issue, I would use an aperture that maximizes the optic quality of your lens. For my 80-200mm, it’s at f5.6 or f8, while other people use f22 to ensure aperture contributes most positively to sharpness. In any event, you should experiment with the various combinations and check your camera’s LCD (the histogram, to be exact) to ensure appropriate exposure.
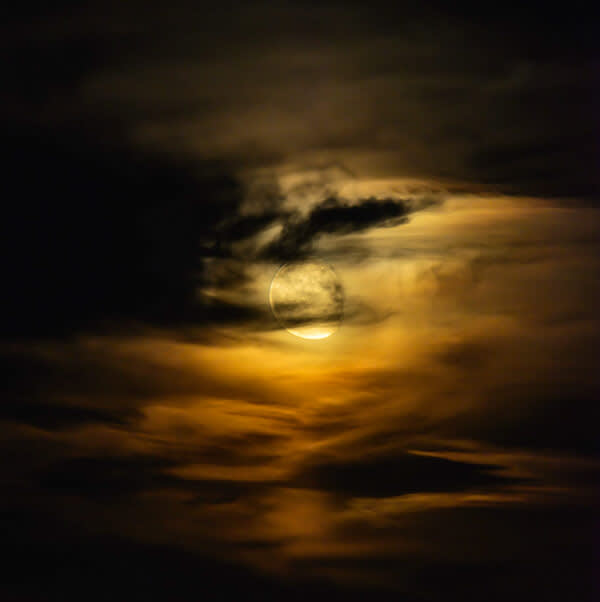
Moon in clouds. By taking the shot when the moon is in clouds, you can pull out the shadows a bit without overexposing the moon.
Composition
With the technical parts out of the way, spend some quality time composing your shot. A moon framed by some nice trees or peeking through some clouds may give a much more artistic view than a straight up shot. If you have a long lens and some kids, use your camera as a lightweight telescope and study the craters and lunar surface. When you edit your photos, you can play with multiple exposures and combine a number of shots into a single photo with a trail of moons across the sky (apply a photo on top of another photo by clicking the your own button atop the Graphics menu). And finally, add some clarity with the Sharpen effect in PicMonkey.
If you're prepping to shoot a lunar eclipse, get your tripods and cameras, head outside, and hope for clear skies!
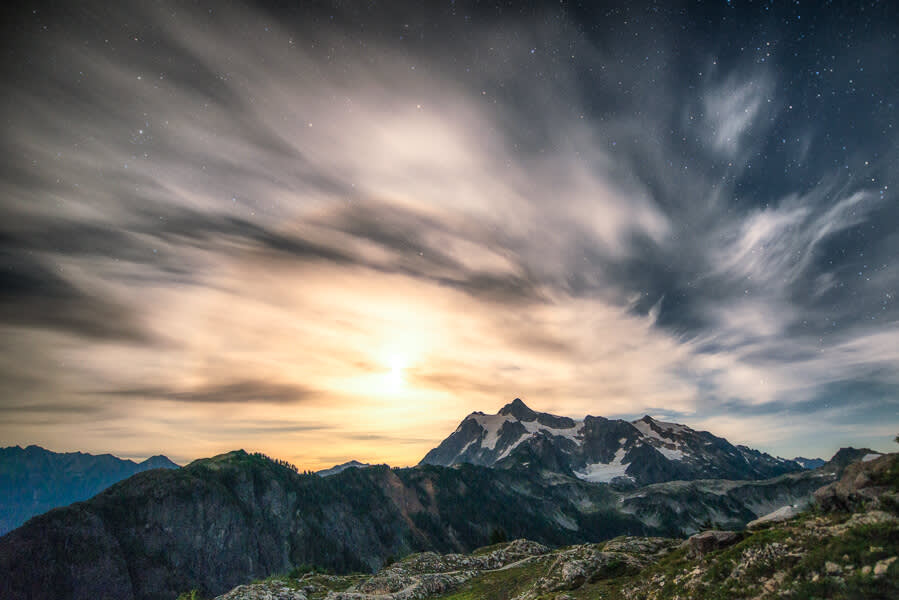
Get creative! Mt. Shuksan at night with moon on a star field behind clouds and a moonbow.
