Thanks to point-and-shoot cameras, lower-priced DSLRs, and cell phones, people are taking more pictures than ever before. A good portion of those images live in the digital world forever—maybe because printing photos seems complicated, and prints often turn out subpar. Let’s take the mystery out of printing and get those pics in photo albums and up on walls. We’ve got the tips to help you make great prints out of your pics, along with a handy Print Shop that lets you order prints directly from PicMonkey.
Understanding how pixels affect print size
Images are measured in pixels. The more pixels in your image, the better quality and larger print you can make. Sometimes an image may look great on your phone or computer, but doesn’t look the same when you print it. This usually happens when you try to enlarge or crop an image that doesn’t have enough pixels per inch (PPI) to print. Fortunately there are a few ways to fix this problem.
The easiest solution is to print an image size that corresponds to the number of pixels in your image. To find the right number of pixels, multiply the inches of your print by 300. For example, if you want a standard 5×7 print, the image needs to be at least 1,500 pixels wide and 2,100 pixels tall. If you don’t feel like doing the math, you can always follow our pixels to inches conversion chart.
| Print size (in) | Image size (pixels) |
| 3 x 5 | 900 x 1500 |
| 4 x 6 | 1200 x 1800 |
| 5 x 7 | 1500 x 2100 |
| 8 x 8 | 2400 x 2400 |
| 8 x 10 | 2400 x 3000 |
| 8.5 x 11 | 2550 x 3300 |
| 9 x 16 | 2700 x 4800 |
| 11 x 14 | 3300 x 4200 |
Size your photo for printing
If we want to print a photo at a standard 8x10 in size, we'll need to change its pixels in the Crop Canvas tool. Referencing the chart above, we can see that 8x10 inches is equivalent to 2400 x 3000 px.

Open your image in PicMonkey and go to the Edits tab on the left.
Select Crop Canvas.
Enter the number of pixels you want the photo to be. You can swap the first and second number to switch between portrait to landscape orientation, or click the Rotate crop button.
Adjust the crop area to include the portion of the image you want to print.
Click Apply.
Choose the right printing paper
Stores and online printing services offer a few printing paper options. Each has its own purpose and benefits.
Glossy paper has a shiny finish that makes prints appear brighter with more vibrant colors. While they look high quality, the gloss on the paper also produces a reflection that can obscure your photo.
Matte paper is a good choice when you want to avoid distracting reflections. Good matte papers produce darker blacks than glossy papers, which results in better contrast. Quality matte paper also shows finer details than its glossy counterparts, so keep this in mind if you want your print to show a lot of texture and detail.
Luster paper—also called satin, pearl, and sometimes semi-gloss—is a premium finish on heavier paper. Luster paper is typically the top choice for photographers because it offers the vibrant colors of glossy paper with the finger-resistant finish of matte. Its repeating texture looks like the surface of an orange and hides minor scratches and scuffs. Luster paper also isn’t as reflective as some other paper types, which lessens glare and shine and makes the image easier to see at all angles.
Metallic paper has a rich, distinctive metallic look, almost like the image was printed on a sheet of metal. Although this type of paper is normally more expensive, a metallic finish can make images really pop.
Calibrating your monitor

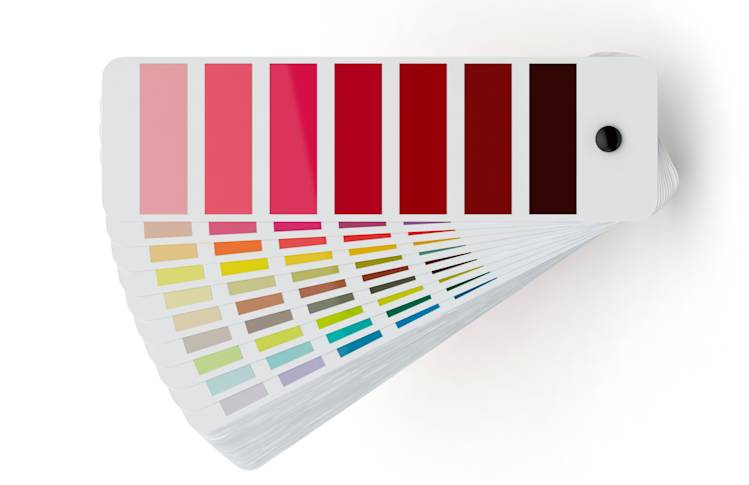
Sometimes the colors in your image look great on your monitor, but don’t look as awesome when your image is printed out. This is because your monitor displays color using red, green, and blue (RGB) and mixes those colors to make a color palette. Printers use cyan, magenta, yellow, and black (CMYK). In order to make sure your prints match your display, you need to calibrate your monitor.
Try a free monitor calibration software program like Calibrize or the tools in the system preferences section of your operating system. Keep in mind that this process isn’t perfect. The software relies on you to determine what you think the colors should look like, so it’s not very precise or scientific.
Using a print lab

Browse all our invitation templates to find one to customize.
Print labs are everywhere. You can walk into a drug store like CVS or Walgreens and print from their self-service kiosks, or upload images to your local Walmart. For better quality prints, consider a service like MPIX and the other options on our list of 16 online printing resources.
Print at home

Printing at home is very affordable and convenient. If you’re serious about printing at home, consider upgrading to a dedicated photo printer.
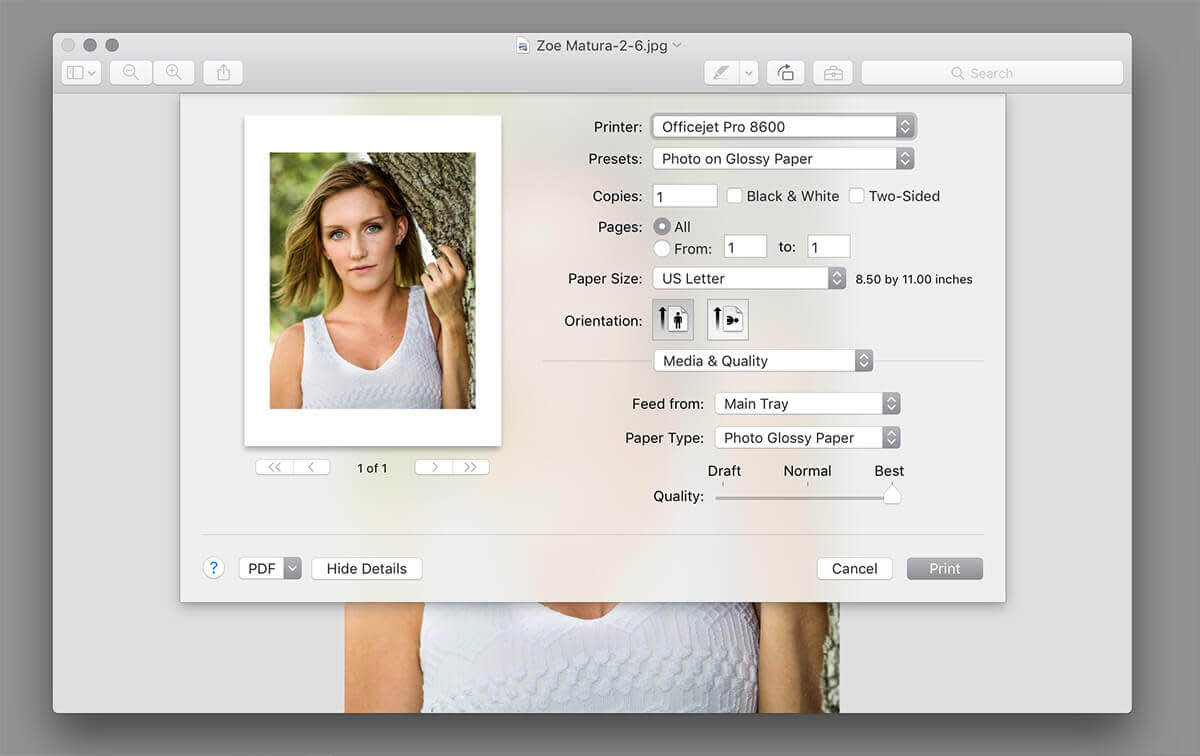
When printing at home, be sure to specify the type of paper you’re using and the quality level in the print dialog. “Best” or “High” quality settings typically result in the best ink coverage on the photo paper.
