Depending on the design project you're working on, graphic overlays can be workhorse building blocks that create focal points and order information, illustrative elements that help articulate an idea, bits of flourish to add balance and visual interest, or all of the above. Whatever your goals, PicMonkey's graphics and graphic tools are a supreme design resource, and we're gonna show you all the tips and tricks for unlocking their powers.
What makes PicMonkey's graphics superior?
Check out the credentials of these design superfriends:
They're on-trend, encompassing a broad array of styles and looks.
They're vector-based, which means they can shrink down or stretch o-u-t without getting jagged edges.
You can customize them with blend modes, color changes, partial erasure, and you can even apply photo effects to them.
You can animate them — individually or grouped — and export your design as an animated GIF or MPEG video.
You can use them as a mask, and make photos and textures peek through the outline of their shape.
Those last two points are PicMonkey's secret sauce—no other design or photo editing toolset gives you this level of power and control. But let's not get ahead ourselves. We'll start with the basics.
How to add a PicMonkey graphic to an image
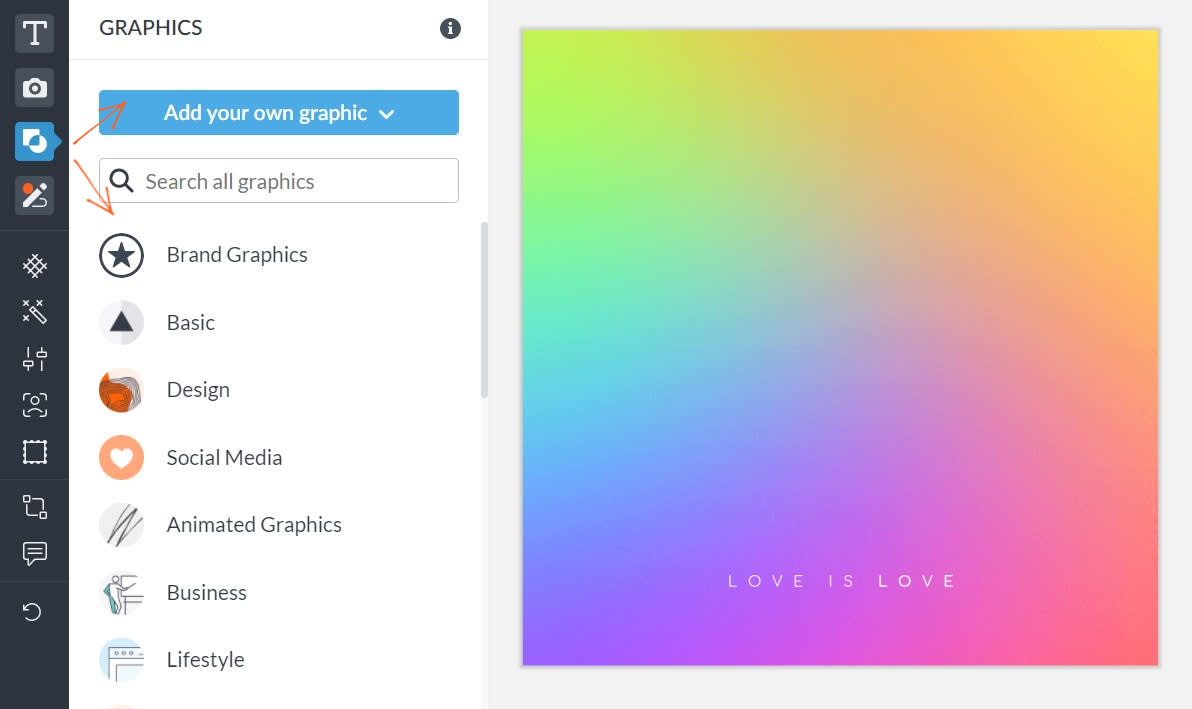
Click Create new on the homepage to start with a blank canvas, or open an image you've already started.
Click the Graphics tab in the top left corner.
Click the name of a group in the list that appears to the right, and scroll through the sets. Or type what you're looking for into the search box.
Click the graphic you want to add to your design.
Drag to place the graphic precisely where you want it. Use the corner handles to change its size and the top handle to rotate it. Click Apply.
If you've got a logo or a graphic you've downloaded from an external graphics resource (there are lots of free ones!), it's easy to drop it into your design in PicMonkey. Click the Graphics tab, then click Add your own image button at the top of the panel, and select the place where you've stored the image you want to add. Navigate to your image, click it, boom!
How to order and select a graphic with the layers panel
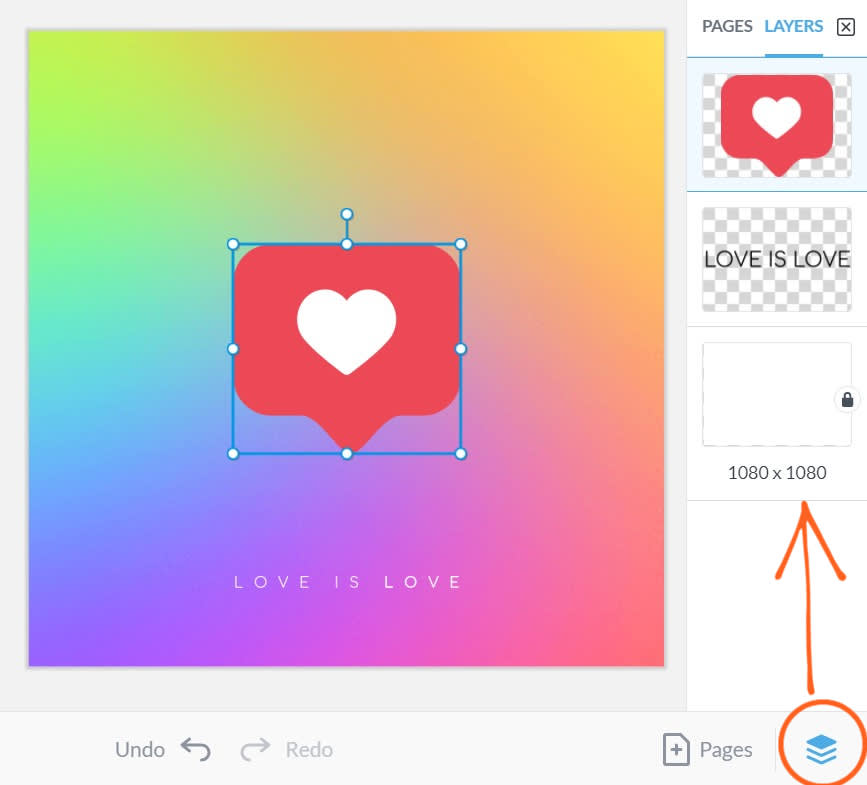
Click the Layers button in the lower left corner—the stacked squares icon— to open the Layers panel on the far right. You can now select the layer that contains the graphic (or other design element) you want to manipulate. This is especially handy if you have a complicated design with overlapping design elements that are sometimes difficult to select.
Drag any layer up or down to change its place in the layer order. Layer order affects which graphics can be seen when they overlap or share the same center.
Hold down the Shift key on your keyboard as you select two or more layers, then right-click and choose Group layers. This locks down their placement relative to each other. Right-click to ungroup.
Right-click any layer and click Rename to rename it. This is useful when you've added your own graphic with an inscrutable name like "graphic 14736."
Right-click, then choose Flatten in the dropdown list and all the layers/design elements will be merged together.
Those are the basics. Let's get customizing.
How to change the colors of a graphic
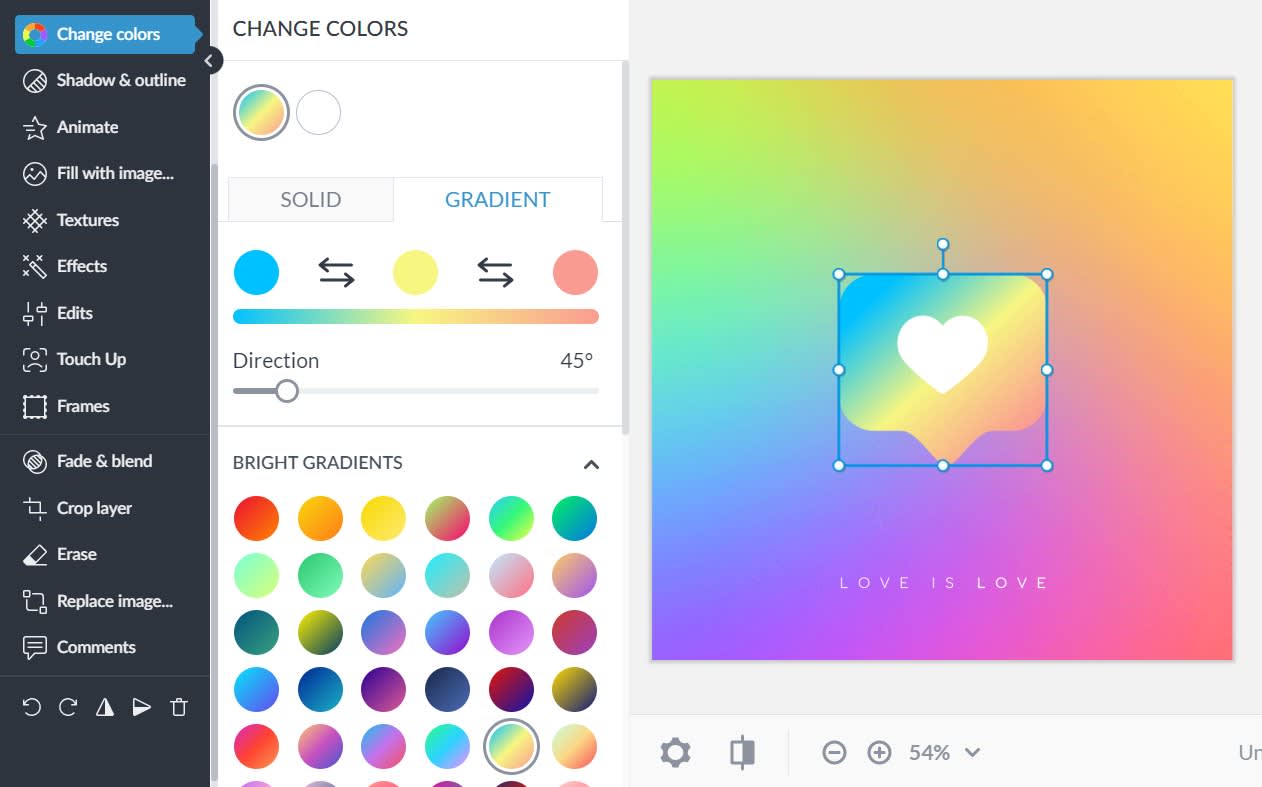
When you click to select a graphic in your design (or after you've added it to your canvas) the Graphic Tools menu will open in the left tabs column. Click Change colors, and the color controls will appear. At the top, you'll see color swatches that represent all the colors in the graphic—click one to change it.
Match another color in your image, using the eyedropper
Select a color from a slew of solid and gradient color swatches
Choose from a color spectrum
Grab a color from your brand kit
Drop in the hex code for a specific color (get those from our Guide to Color)
How to add drop shadow, inner shadow, and outline to a graphic
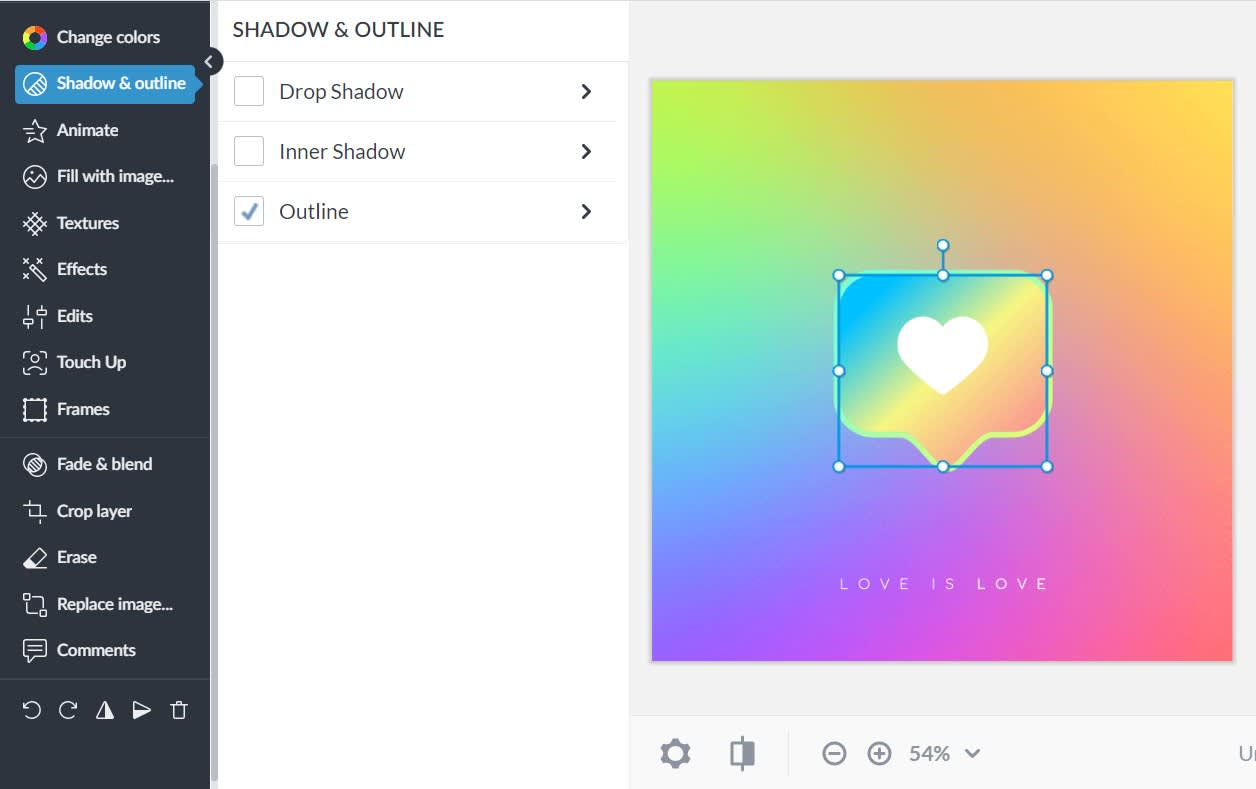
Shadows make your graphic look more three dimensional, sometimes like it's floating over the other elements in your design. In the Graphic Tools menu, click Shadow & outline, and you'll see a checklist including Drop Shadow, Inner Shadow, and Outline. Choose one and you'll have a ton of customization options to play with.
How to partially erase a graphic
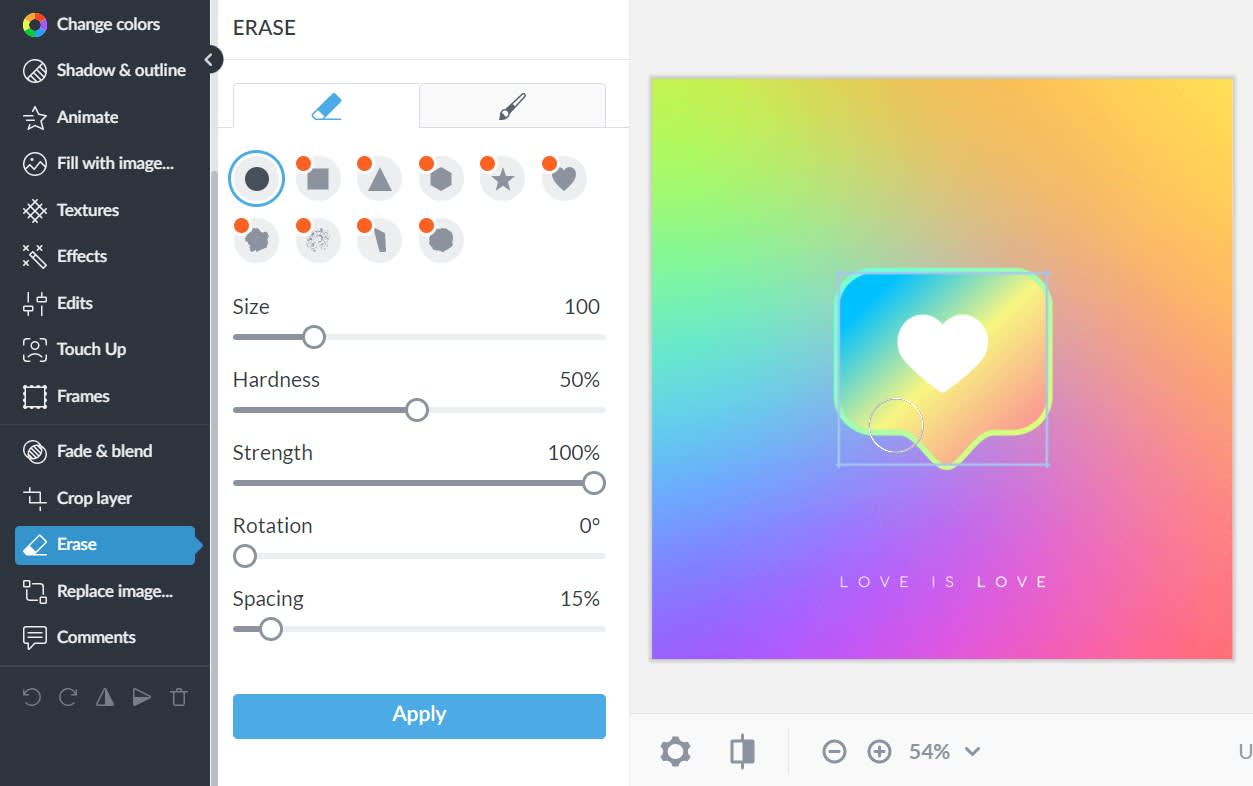
If you want to get rid of part of your graphic, just erase it! Click the Erase button in the Graphic Tools menu and adjust the size slider to make the eraser the right size for the job. Begin dragging/rubbing your mouse over the parts you want to erase, and if you make a mistake, click the paintbrush icon and you can paint back what you erased.
How to animate a graphic
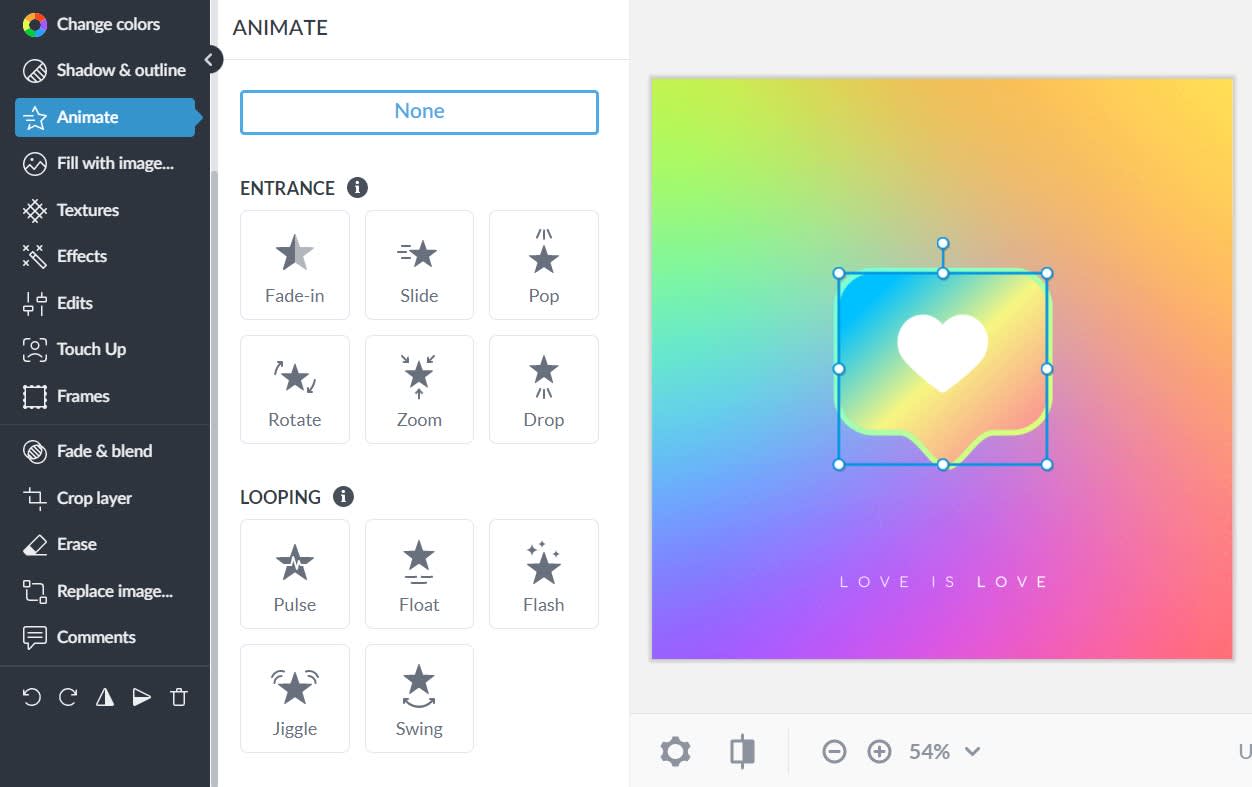
Animating graphics is mind-blowingly easy. Simply select a graphic, then click the Animate button in the Graphic Tools menu. You'll have 11 moves to choose from; some play continuously and some are "entrance" animations that loop. Note: Animation is a PicMonkey Pro feature, and t-o-t-a-l-l-y worth it.
You can animate all the graphics in your design. Click the stacked squares in the lower right corner of the screen to see the Layers panel. Select several at once by holding down the Shift key on your keyboard and clicking all the graphics you want to apply a single animation move to. If each graphic has an animation applied separately, they will play in the order they're stacked in the Layers panel: top to bottom.
Click the circular play button in the bottom toolbar to preview the animation.
How to use blend modes to change the look of a graphic
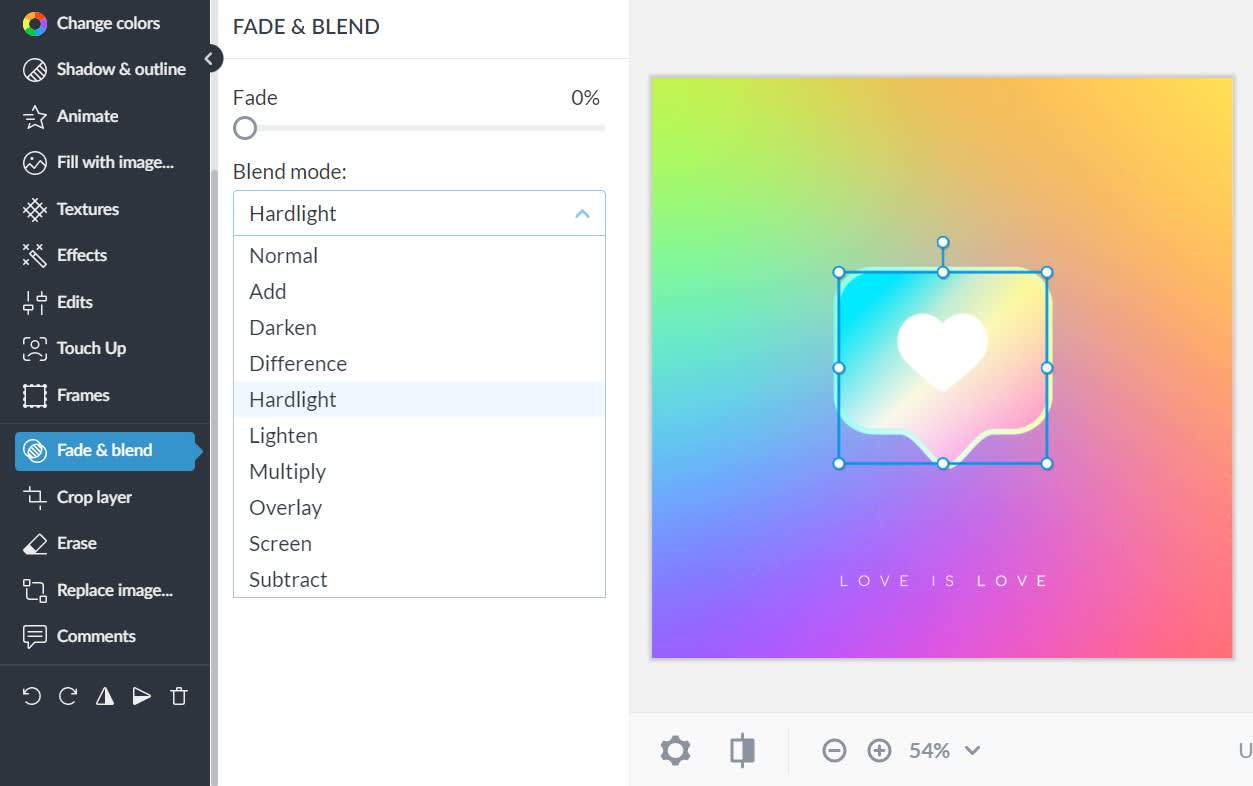
Blend modes are a somewhat unpredictable but utterly worthwhile control to explore, for changing the colors and sometimes the look of your graphic. Click the Fade & blend button in Graphic tools, then click Blend mode. Experiment with all the options in the drop-down menu. Because they're based on color math that changes hue based on an object's original colors and those of the background, a blend mode may change the transparency, a group of colors, only one color—you just have to try it to see what you'll get.
