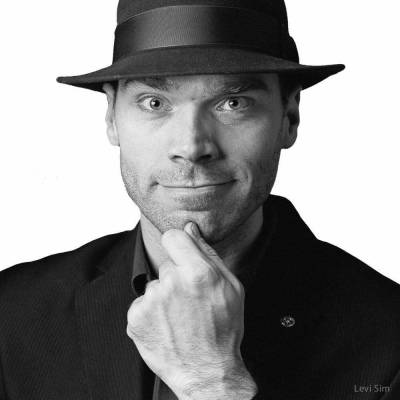
Black and white lends a certain timeless grace to a portrait. And, since it’s never more than just a few clicks away, it’s worth exploring as you finalize your editing choices in PicMonkey. Here are some key steps for amping up the luster and impact of your black and white portraits.
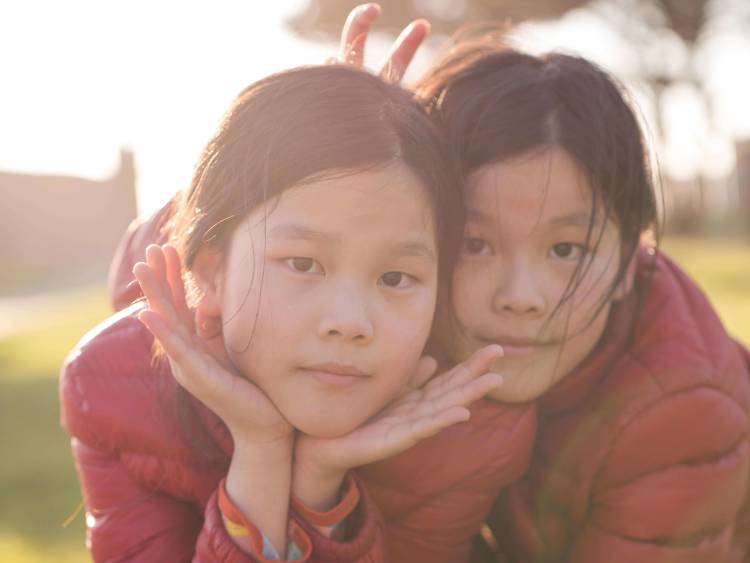
Colorful start
When starting with a color photograph, the colors in your photo affect its conversion to black and white. Go to Colors in the Basic Edits tab, and click the Neutral picker button. Move your eyedropper to an area of your photo that should be white, and click. Presto! Your colors are corrected and your photo is ready to be converted to black and white.
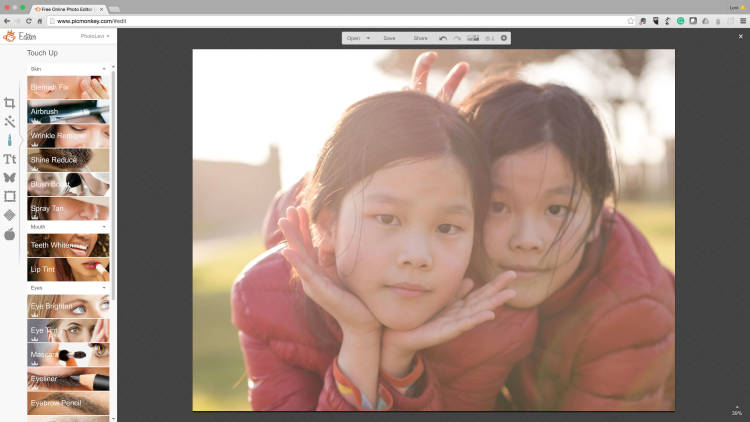
Also, if you need to do some retouching, you should do it before you convert your photo to black and white. Visit the Touch Up tab to make your edits, then save your retouched photo. That way, you’ll have a perfect color image ready to go if you decide you want to start over later on in the process.
Old school filters
Picture effects are commonly referred to as “filters” because, when you shoot black and white film, you can add a colored glass filter to the front of the lens and it totally changes the tones of the black and white photo. If you add a red filter, red stuff appears whiter/brighter, and blue and green stuff appears darker. A green filter makes green stuff brighter, and red stuff darker.
Most skin tones are actually quite red as far as black and white is concerned, and so a red filter not only brightens the skin, but also evens it out. You can play with this idea in PicMonkey by popping into the Effects tab, clicking Black and White, and using the Contrast filter.

Drag your mouse around the different colors in the Contrast filter, and notice the changes to your photo. Using a red hue in the lower-left-hand corner is usually a good choice, but there are no rules — just choose one that gives you the best-looking contrast.
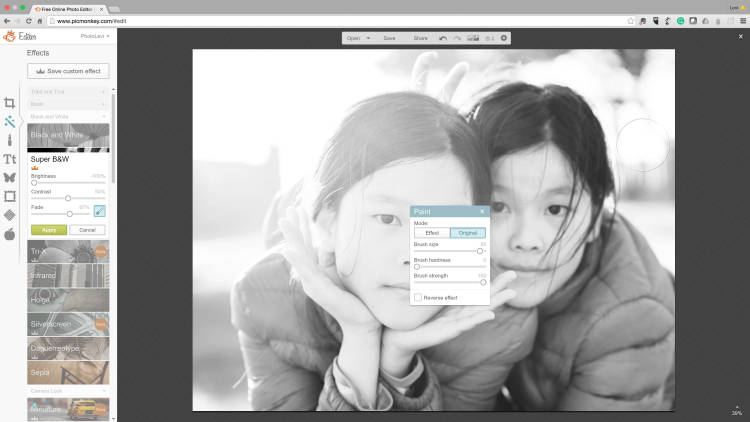
Super B&W
To amp things up, head to Super B&W (also in the Effects tab). The options in Super B&W allow you to make the effect as heavy or light as you like. In this example, we turned the Brightness slider down to zero and increased the fade in order to lessen the impact of the effect.

If the effect seems like a bit too much on a certain area of your photo, click the paintbrush icon, then click Original in the Paint palette. Use your cursor to erase the effect from that area.
Back to basics
Once you have your black and white image, find Exposure in the Basic Edits tab. This is where you can adjust the contrast (brightness and darkness) in your photo. This is a high key (bright) photo, so lots of bright works well. The next example will be much darker overall, and you’ll see that the deeper darks work better in that instance.

Don’t over accessorize
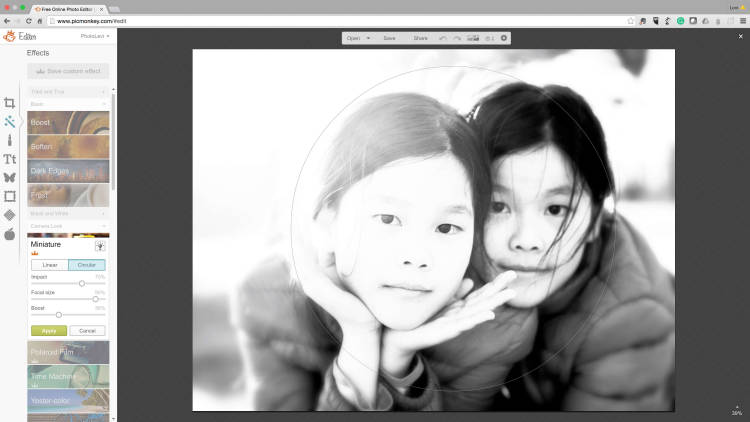
There’s a smorgasbord of effects you can apply to your black and white portrait, which makes it easy to get a little carried away. Using just the right amount of a certain effect can make your black and white portraits stand out, but be careful not to over accessorize. Here, the Miniature Effect makes the subjects stand out and gives them a dreamy, timeless look. Click the Circular button in order to apply the effect to as much of your subject as possible.

Here’s another photo using the same process (and the same kids). This is what you call a low-key photo, meaning that it has mostly dark tones. The only difference is that the Tri-X effect—which is intended to mimic Kodak Tri-X film—is used in place of the Super B&W effect.

