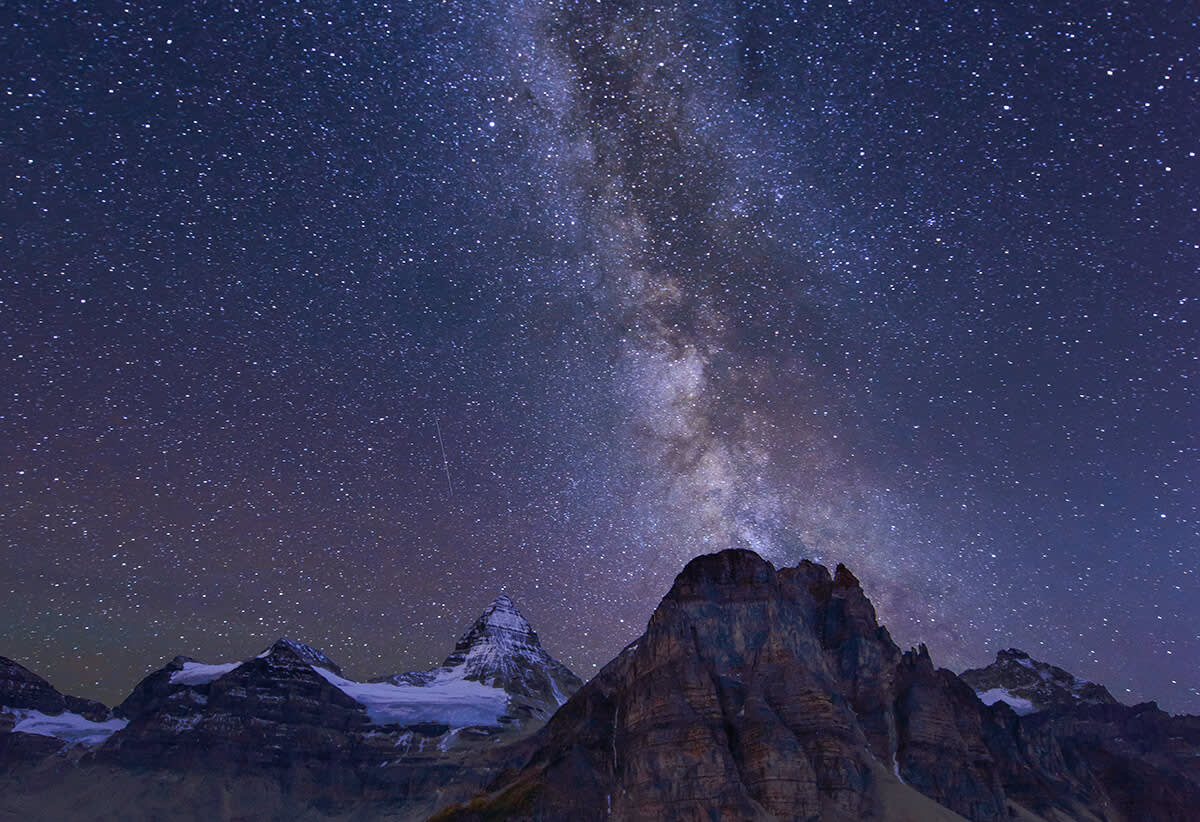
The biggest meteor shower of the year is happening this weekend. You don’t want to miss it.
The Geminid meteor shower was first noticed in the 19th century, as a sparse sprinkling of faint streaks. Since then, the Geminid meteor shower has become the meteor shower. This very weekend, on December 13th, NASA estimates a rate of 120 meteors per hour. Even better: the Geminid meteors are heavy, so they burn up lower in the atmosphere, and travel (relatively) slow, which makes for long, highly visible arcs. You can’t miss out on this one. These are our guidelines for photographing the Geminid meteor shower.

Conditions
According to the brains at NASA, anytime after 9pm on Sunday, December 13th will be close to the shower’s peak. Clear skies are a must, obvi. Avoid light pollution, people standing in front of your camera, and clouds. If your view is blocked by clouds, we feel your pain: there’s no better time than December in Seattle to accept the truth that nature doesn’t care about your pretty pictures.
Lens
Use a super wide, super fast lens. The widest that you have. Anywhere in the 14–24mm range is good, with 14mm being ideal.
Why? The more you zoom, the more you narrow your field, the less likely you are to capture meteor streaks. Zooming in with a 200mm lens would be like watching stars through a toilet paper roll. You want the widest angle possible so that you can capture as much of the sky as possible.
Aperture
An aperture of f/2.8 is perfect because it’s small, which means more light—plus a shallow depth of field!
Why? That last part might sound wrong, since shallow depths of field normally blur backgrounds, right? Yes, but since all the stars are basically on the same visual plane, a shallow depth of field is perfect (when properly focused, which we’ll get to later).
Shutter speed
Start at 15–20 seconds. If you find that those speeds are taking in too much light, gradually reduce your duration and update other exposure settings accordingly. Be careful, though.
Why? Too short and you might not capture enough light (or meteor streaks, for that matter). Too long and the stars will be blurry (since this big ol’ Earth thing is spinning). It won’t even be a good kind of blur, either. It’ll be just blurry enough to look accidental.
ISO
We recommend 1800, 3200, maybe even something higher if your camera can pull it off and especially if you have some automatic noise reduction.
Why? You’re trying to capture as much light as you can, so you’ll wanna take your ISO up pretty high. Normally we’d advise against going super high, since a high ISO makes pictures grainy. This is kinda different, though, since the grain might actually make your starfield look cooler. Might.
Focus
Option 1: Focus on something “at infinity” (read: very far away) during the day, then tape down your focus ring, or mark the alignment of your focus ring and zoom ring.
Why? The hard part about focusing in the dark is that it’s dark. You need light to see, and you need to be in focus. Pre-focusing in the daytime is a popular trick to get around this obvious but surprisingly overlooked obstacle.

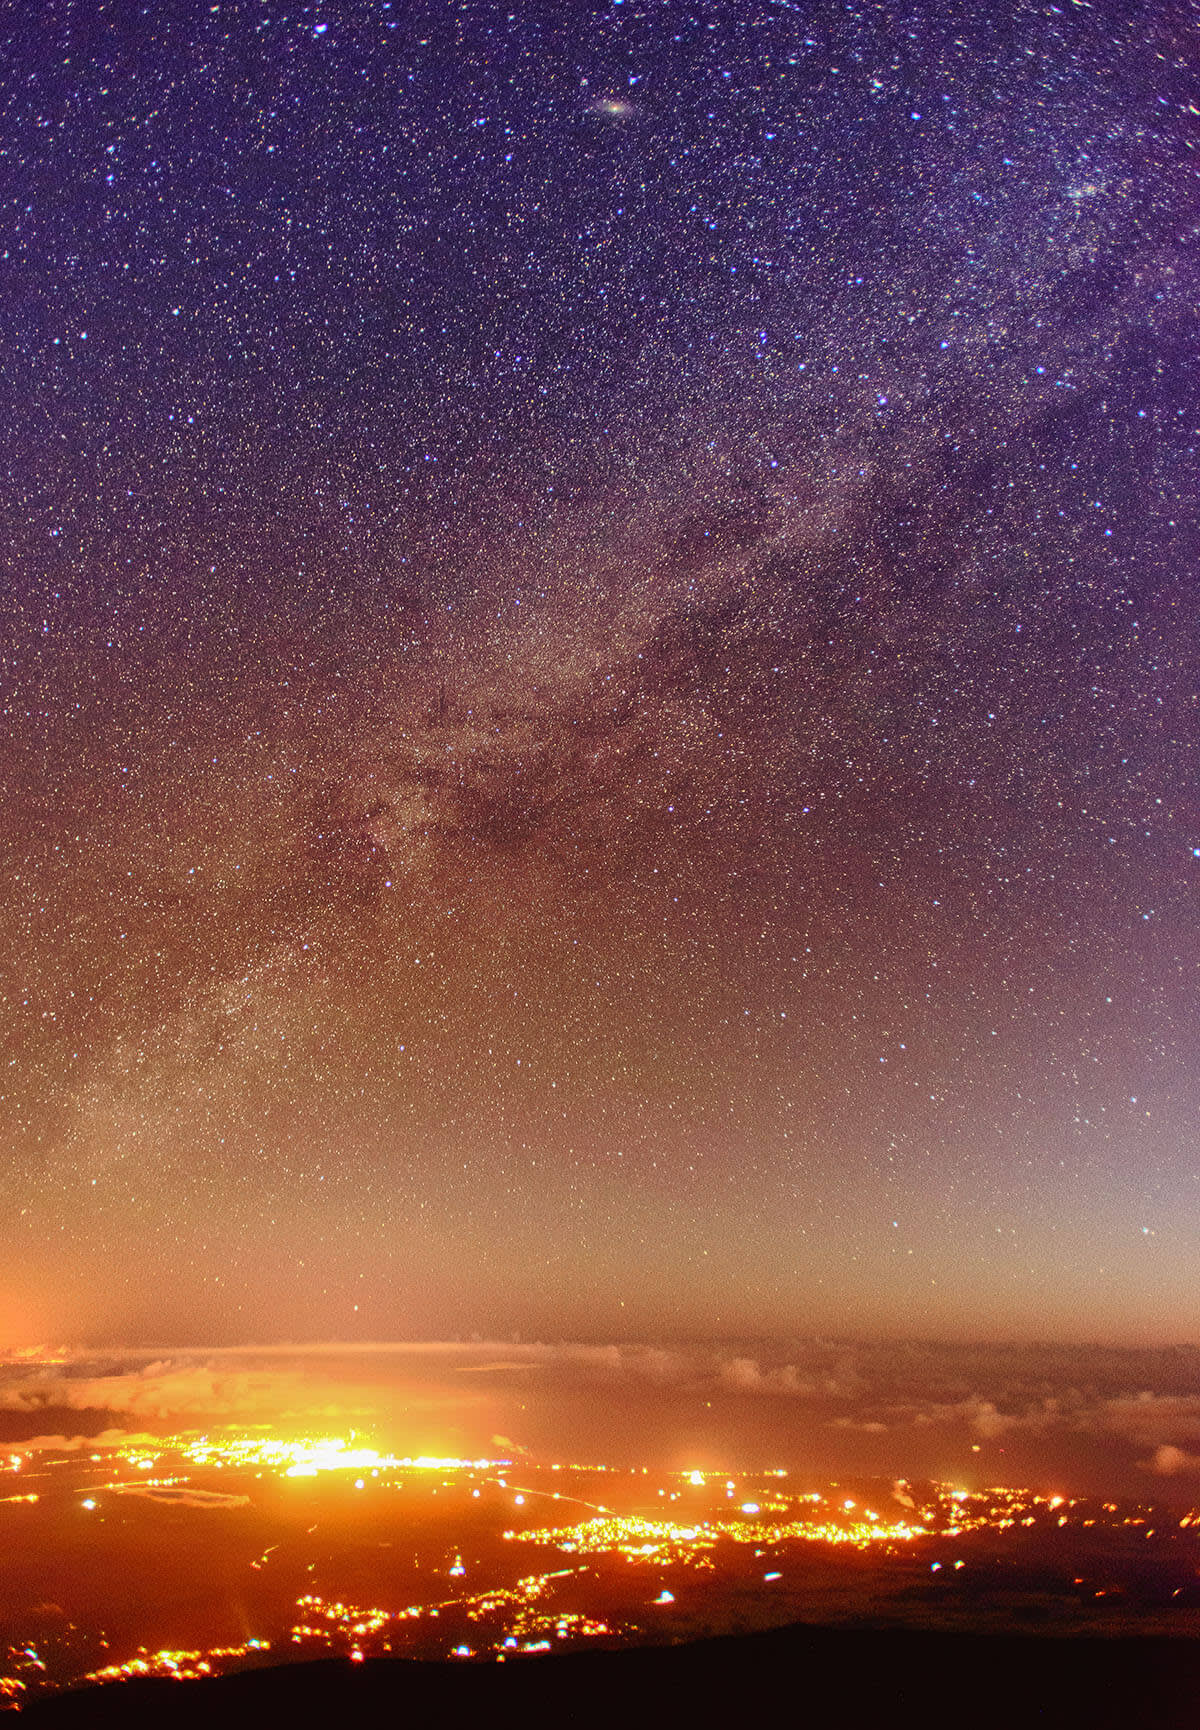
Option 2: If you didn’t do the pre-focusing, find a light that is faaaaaar away so you can focus on that, like this distant city.
Why? A streetlight or distant building lights will be bright enough to actually see, but still twinkly, far, and stationary enough to substitute for your stars.
Oh, and if your camera has fancy Live View functionality, use it to help you get things in focus without actually adjusting the zoom of your camera.
