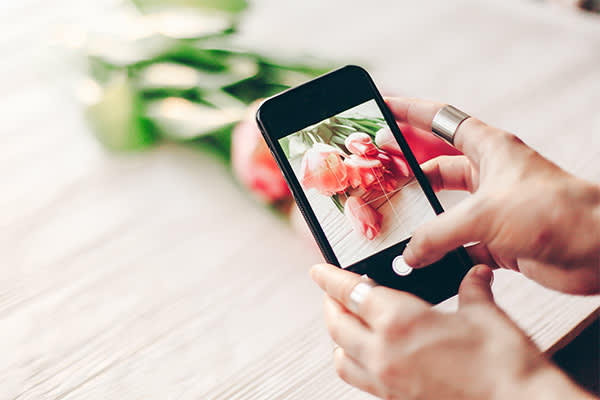
The camera on the iPhone keeps getting better and better with every new release. Some even say that the iPhone X can take studio-quality portraits. But while millions of people have an amazingly powerful camera right in their pocket, the vast majority of them don’t know how to fully take advantage of it.
If you’re ready to up your iPhone photography game and wow your friends, family, clients, and social sphere with professional-looking, dynamic pics, read on and check out our top 10 tips for taking better pics with your iPhone.
1. Play with portraits
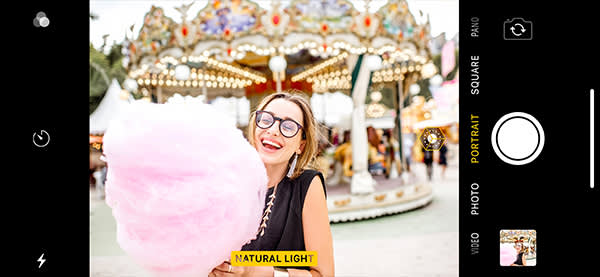
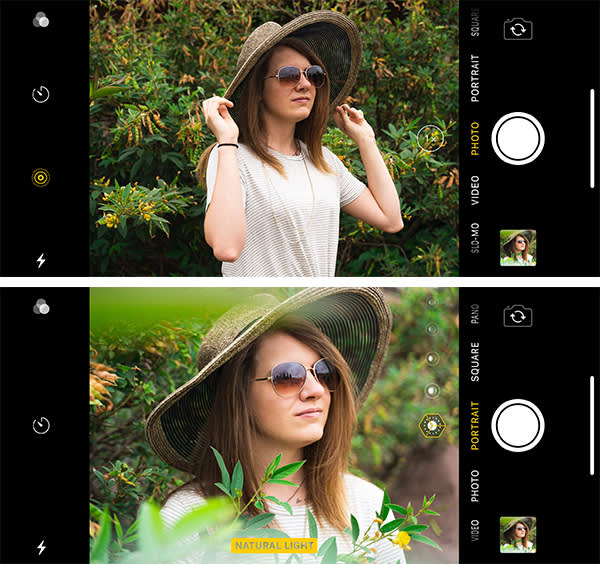
One of the most popular features of the iPhone X, iPhone 7 Plus, and iPhone 8 Plus is Portrait mode. When taking a picture in this mode, your camera automatically focuses in on the person and lightly blurs everything in the background, which draws attention to your subject. You also have access to some preset lighting effects that you can apply when taking your portraits or after the fact, such as Natural Light, Studio Light (to brighten things up), Contour Light (to add some shadow), and Stage Light (to light the subject up like they’re standing on a stage).
Since Portrait mode will automatically zoom in on your subject, you might have to take a step back when using it. And for all you selfie-takers out there, the iPhone X lets you use portrait mode when shooting with the front-facing camera.
2. Choose your focus
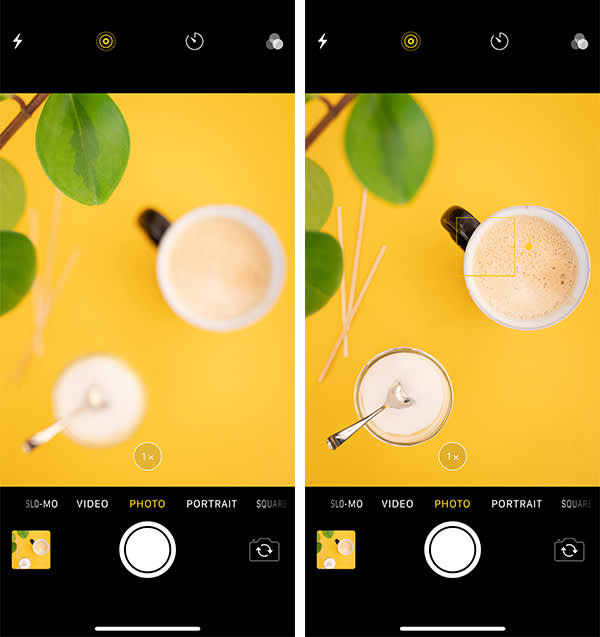
The iPhone camera will automatically choose which part of your photo to focus on. But sometimes it gets it wrong. That’s why it’s a good idea to manually choose where to put the focus by tapping on the area you want to be as sharp as possible. A yellow square will appear, and that will be where your focus is. If you want to lock that focus because you’ll be taking several shots of the same thing, just tap the area you want to focus on and hold the screen for a couple seconds. A yellow box reading AE/AF LOCK will appear at the top of the screen. To unlock, tap the screen once.
3. Get the light right
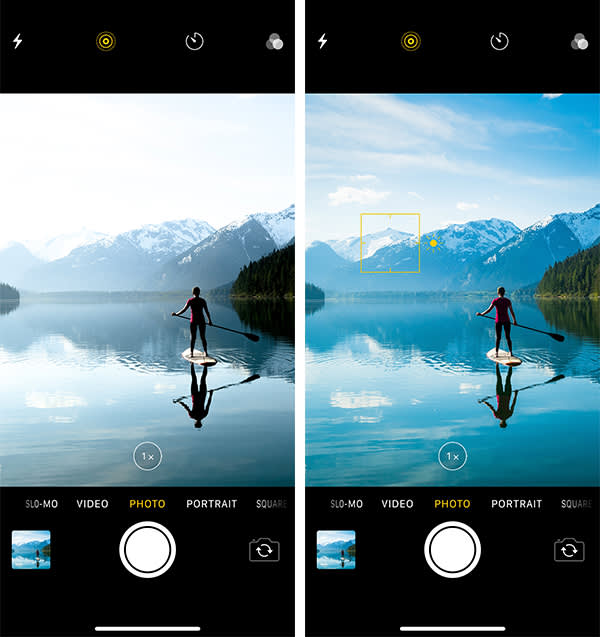
The first thing to know about lighting for your iPhone is to turn off the flash and go with natural light whenever possible. The flash will often blow out your photos, cause bright spots on people’s faces, and generally create a harsh look. However, natural light isn’t always available, or the position or angle of the light is making parts of the shot look too bright or too dark. In those cases, be sure to take advantage of the iPhone’s ability to manually adjust exposure.
Basically, you’ll adjust your exposure in the same way that you adjusted your focus. All you have to do is frame your photo and then tap on the part of the image that you want the camera to adjust the lighting for. For example, if you’re taking an outdoor shot and the mountain in the background is unclear, tap the mountain and that same yellow box will appear with a sun icon on the edge. The camera will automatically brighten the mountain. If you’re not satisfied with the lighting, tap the yellow square and then the sun icon. Swipe your finger up or down to adjust the light as you want it. Keep in mind that these manual adjustments don’t last long, so you’ll have to snap your shot quickly when you get the light just right. You can also lock your exposure in the same way that you lock focus, by holding down on the screen for a couple seconds as described above.
But what if you want to set your exposure on something different than the thing you are focusing on? No problem. Just set your focus point, and then use the exposure slider to swipe up or down to brighten or darken the image.
4. Balance with HDR
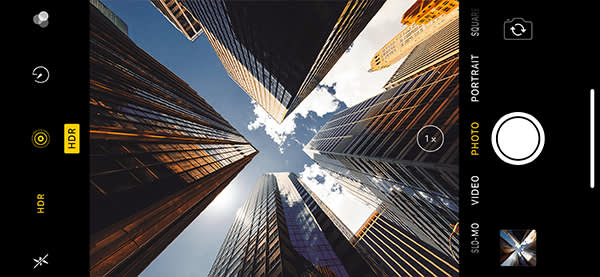
Even with the ability to adjust exposure manually, certain situations remain difficult to light appropriately. For example, wide or landscape shots with a bright sky and a dark foreground can be a challenge. If you want to get a good amount of detail and nice lighting and color in all parts of the image, tap HDR and choose Auto, On, or Off. Turning it on will guarantee HDR (High Dynamic Range) is being used for that photo.
How does HDR work? The camera takes three different pictures at different exposures, then mixes the best parts of each to create a single image with the best exposure throughout. Genius!
5. Compose with grids
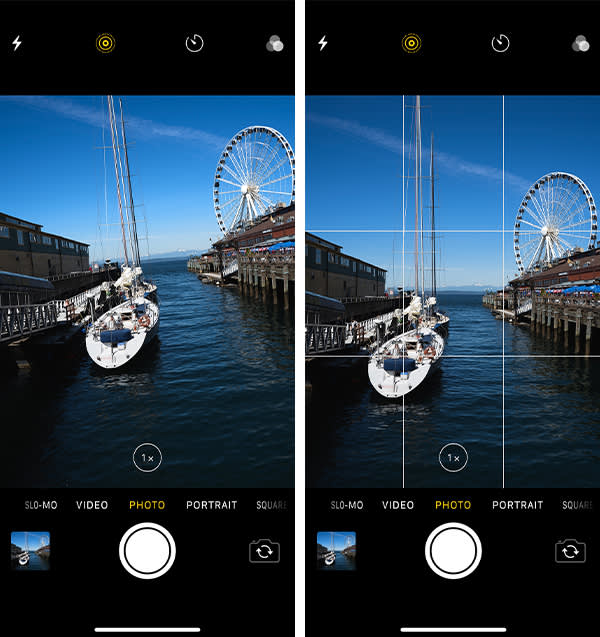
The iPhone’s camera grid will help you increase your awareness of your shot’s composition and figure out the best placement for your subject within the frame. To turn on the grid, go to Settings>Camera>Grid and select On.
Because the gridlines divide the screen into three rows and three columns, they can be used to follow the rule of thirds, which says that your subject should be placed off-center on one of the gridlines or where the horizontal and vertical lines intersect. For landscape shots, you can use the grid to ensure that your horizon is level. And for any type of shot, the grid helps you make sure you’re holding your phone straight and not at an angle.
If you’re shooting from above and want that flat lay look, the leveling tool, which is turned on automatically with grids, will be your best friend. When pointing your iPhone up or down, there will be two crosshairs in the middle of the screen, one white and one yellow. When your iPhone is parallel to the ground or ceiling, the crosshairs will merge and become a single yellow crosshair.
6. Change your perspective
One of the advantages of taking pictures with your iPhone is that it’s small, compact, and light, which means it’s easy to experiment with angles and perspectives. Rather than always shooting head on, try crouching down for a low angle shot, or stand on tiptoe and put your iPhone in the air for an overhead shot. Get in close to your subject and explore a variety of detail shots, or move far back and see what kind of background material is available. If you have an iPhone X, iPhone 7 Plus, or iPhone 8 Plus, you have an extra telephoto lens that’s perfect for zooming in for those macro shots.
7. Capture movement with Burst mode
Getting a great action shot is tough because you never know when to snap in order to capture the perfect moment. Not only that, but the likelihood that your image will be blurry is pretty high. The iPhone takes care of all that by offering Burst mode. Just hold down the shutter button when taking your action shot and the camera will take 10 photos per second for as long as you hold the button. Then you can choose the best photos from the sequence and toss the rest.
8. Set up your shot
Another trick to getting a good action image is to frame your shot before the action gets there. Let’s say you’re trying to get that perfect moment when your friend is crossing the finish line of a marathon. Rather than training your camera on the runner and following them to the finish line, point your camera to where your friend is headed and get ready for them to enter the frame. This allows you to set up your shot, think about the composition, and make sure your background isn’t too cluttered. Once they enter the frame, use Burst mode to take lots of shots so you can choose the best one.
9. Go live
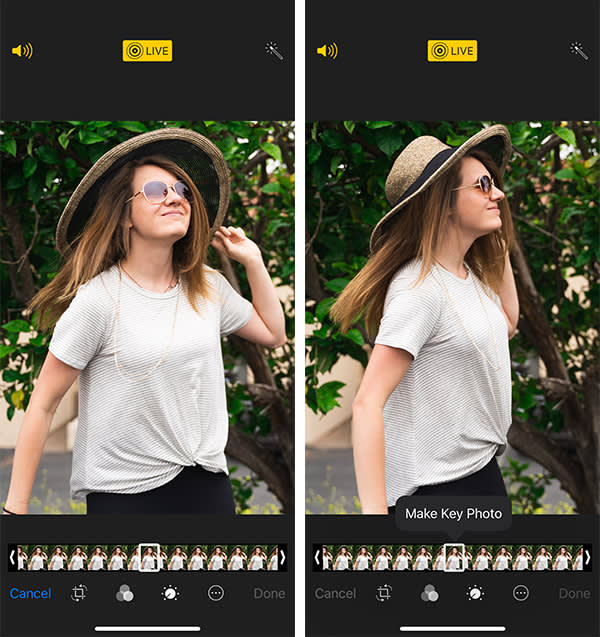
Shooting a Live Photo allows you to take a mini video of your subject because it saves footage of the 1.5 seconds before you press the shutter button and 1.5 seconds after. Having that 3-second video that captures subtle or dramatic movements, as well as ambient sound, is a fun way to bring your photos to life. But Live Photos are also a handy way to get a bunch of still photos of a single shot. Much like Burst mode, you’ll be able to see a range of options and choose what to keep. The difference is you don’t have to hold down the shutter button to get all those shots.
To take a Live Photo, just tap on the circles icon at the top of the screen. When the circles turn yellow and the word LIVE appears, you’ll know you’re taking a Live Photo. To play it back, press down firmly on the screen. You can then apply an effect to your Live Photo. Loop will turn it into a continuous loop, Bounce will play it forward and in reverse, and Long Exposure will create a slow shutter effect that blurs the movement, which is especially cool for waterfalls and flowing rivers.
10. Pretend it’s a camera
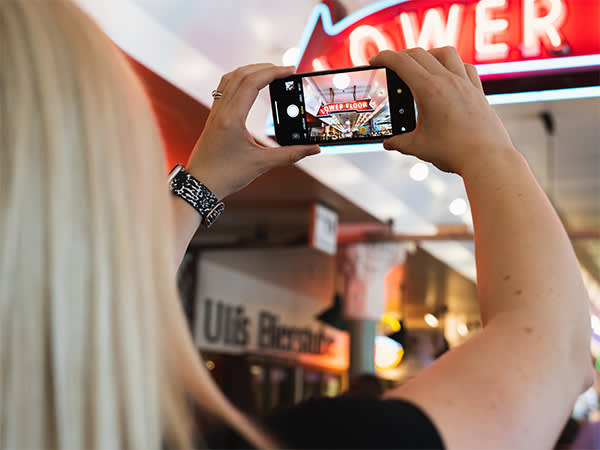
One of the simplest tricks to making your iPhone behave more like a regular camera is to use the volume buttons as your shutter button. This allows you to hold the iPhone steady with both hands rather than making the sometimes-awkward move of trying to press the onscreen shutter button. And if you’re wearing headphones, you can use either of the volume buttons on your headphones to take your photo, which is great if you’re trying to take a candid shot.
Another potential problem with taking pics with your iPhone is that most people open the camera app by first unlocking their phone, finding the camera icon, and pressing it. This time-consuming process can cause you to miss that amazing shot. Instead, all you need to do is press the home button and swipe left and the camera will open—no muss, no fuss.
Who knew your iPhone had such picture-taking power? So go ahead, shoot away! And remember, PicMonkey is at the ready to enhance, correct, and perfect all your pretty pics.
