We all know that light is an important factor whenever you, you know, want to see something. But good lighting can also be the difference between a ho-hum photo and something that’s completely “Wow!”—it affects everything from how rich your colors look, to the sense of depth in the photo, to the mood you’re creating.
If you have a photo that’s not quite living up to its full potential, pop it into the PicMonkey Editor and put our Exposure, Colors, and Sharpen tools to work. These tools can help address over- and underexposed photos, dull colors, and image clarity (all issues that can be caused by poor lighting).
If it’s the mood of the photo that’s getting you down, we have a whole group of light effects in the Effects tab that’ll help give you creative control over the sun in your photograph. If it’s a natural look you’re goin’ after, apply these effects to outdoor photos and/or photos that contain a natural light source. Now, let’s get into the effect-y goodness!
Add an ethereal glow with Radiance
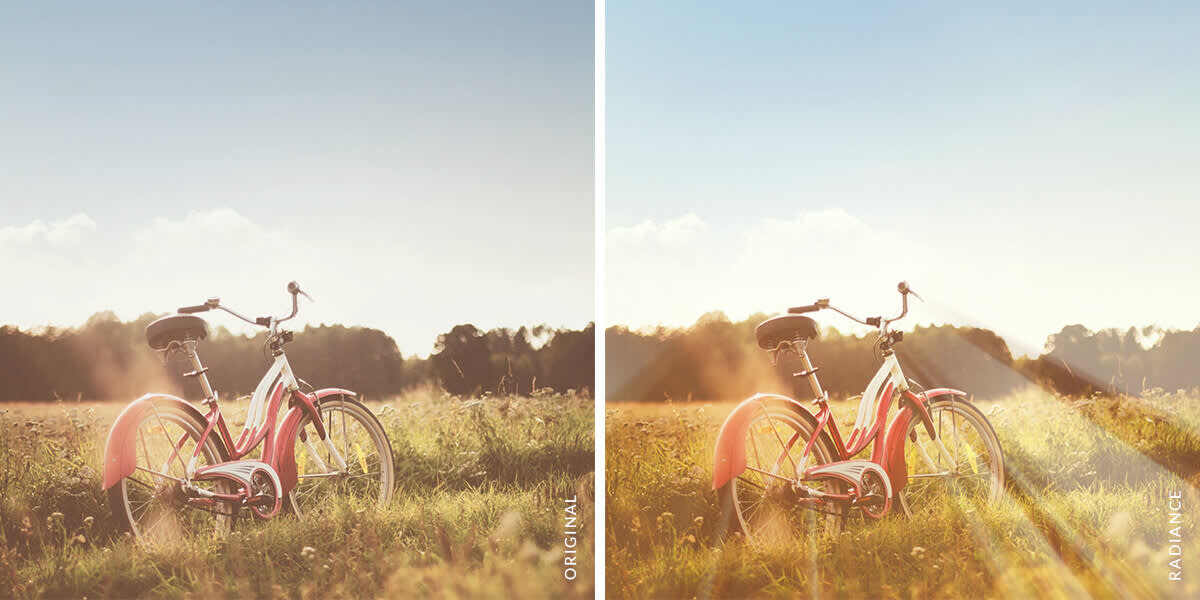
Radiance adds streaks of sunlight to your image and can give it a celestial glow. Like Bokeh Shapes, Radiance grabs color from your picture, so it’ll take color from wherever you place the focus area.
To make this effect look natural, stick the focus area it where the natural light is coming from in your photo and crank the Fade slider to the right to dial it down. If you want a look that’s less natural, you can pick a different tint color from the color spectrum.
Add drama with Lens Flare
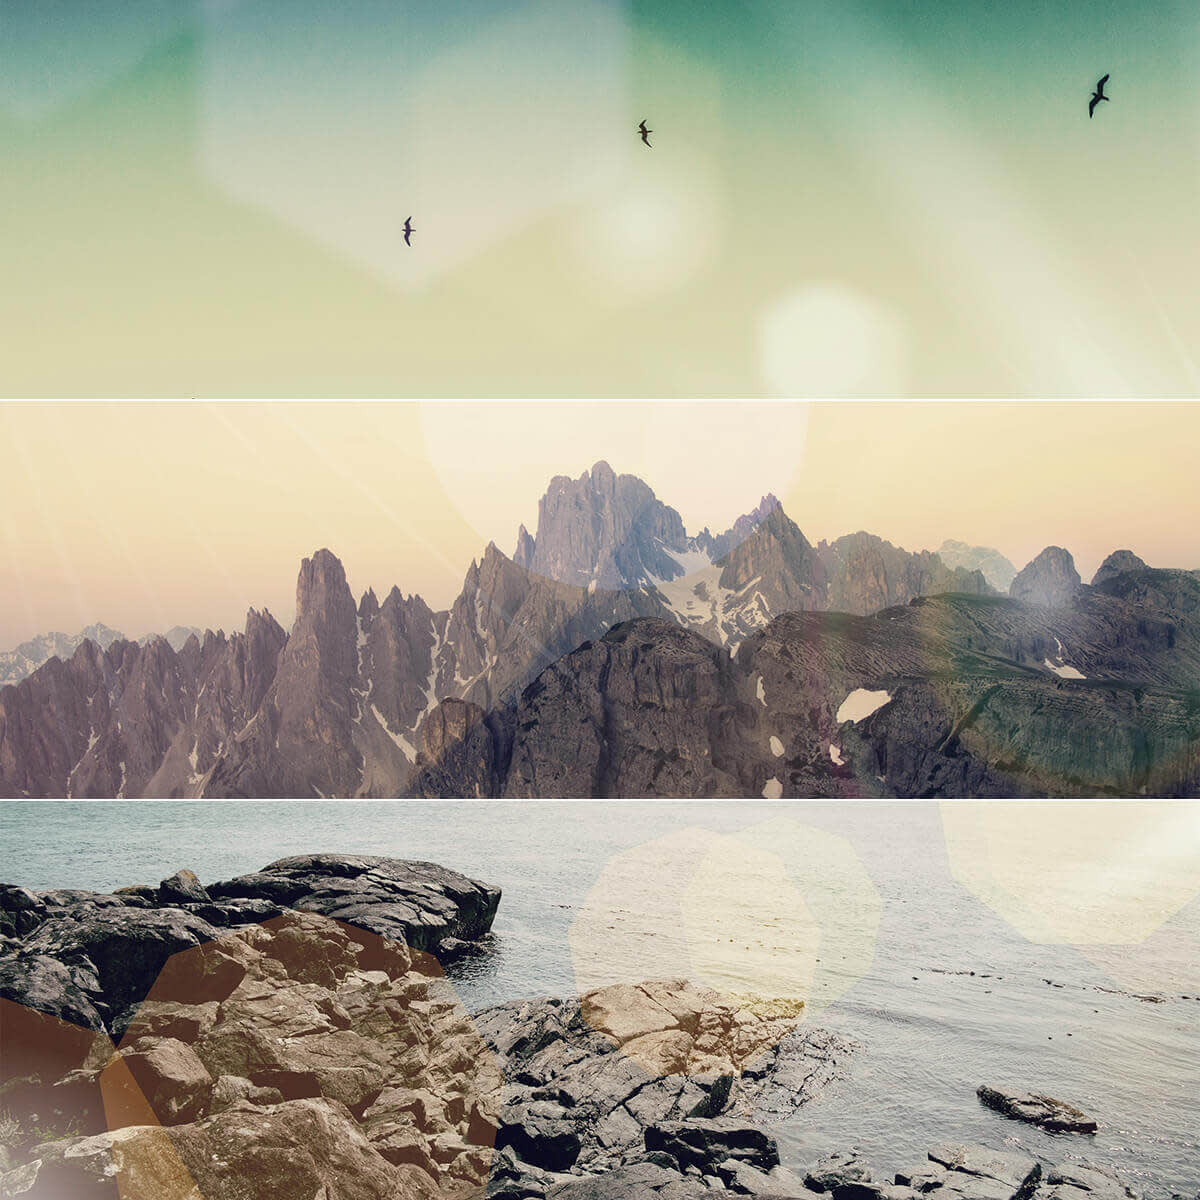
Lens Flare adds an element of the perfectly un-perfect to your photo by mimicking this common photography occurrence. While it’s sometimes viewed as a mistake, lens flare can add interest and a sense of drama to your image.
To apply the effect in PicMonkey, position one of the points of the flare above the light source in your image. Play around with the positioning of the bottom point until it cuts across the subject of your photo. Toggle between the different shapes until you find one that best fits your image and then adjust the size and fade until it looks natural.
Get dreamy with Bokeh Shapes
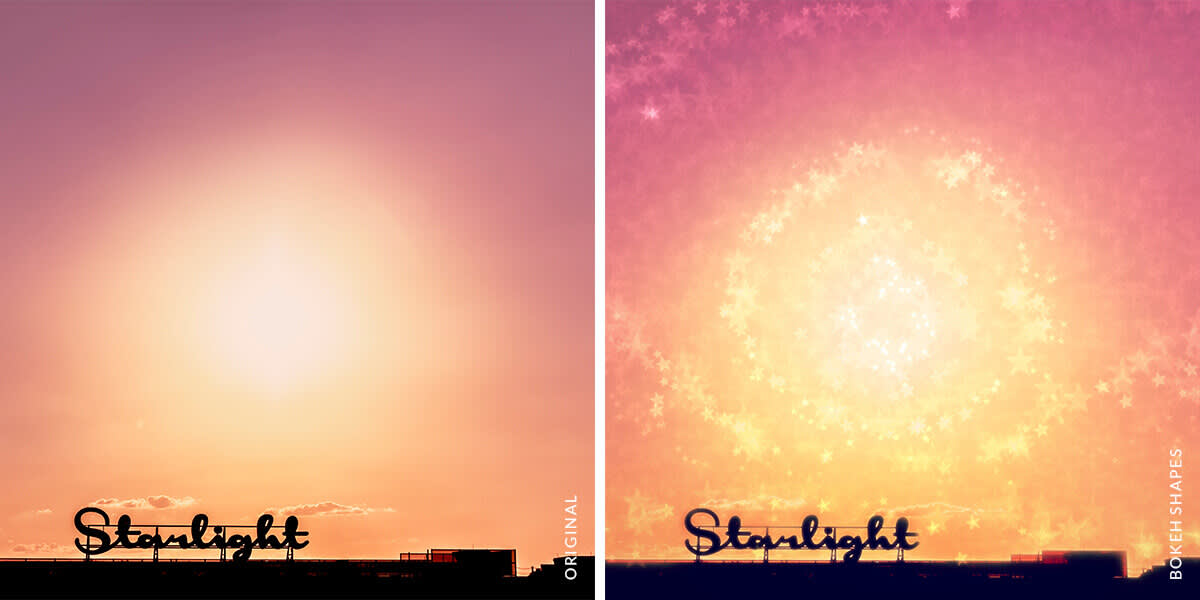
Using Bokeh Shapes is a great way to add some glimmer to your photo. The effect not only adds glowy, translucent shapes to your pic—it can also add a gentle blur. To really capitalize on Bokeh’s glowi-ness, paint it onto the direct light in your photo. When you increase the size of your shapes, their brightness also increases.
Tip: Fake a shallow depth of field by painting Bokeh Shapes onto the background and setting your blur to Soften. You can gradually bring the subject into focus by lowering your brush strength (found in the Paint palette) as you get closer to it. Adjust the Size slider until it looks right to you.
For more bokeh goodness, check out our tutorial.
Go gold with Sunglow
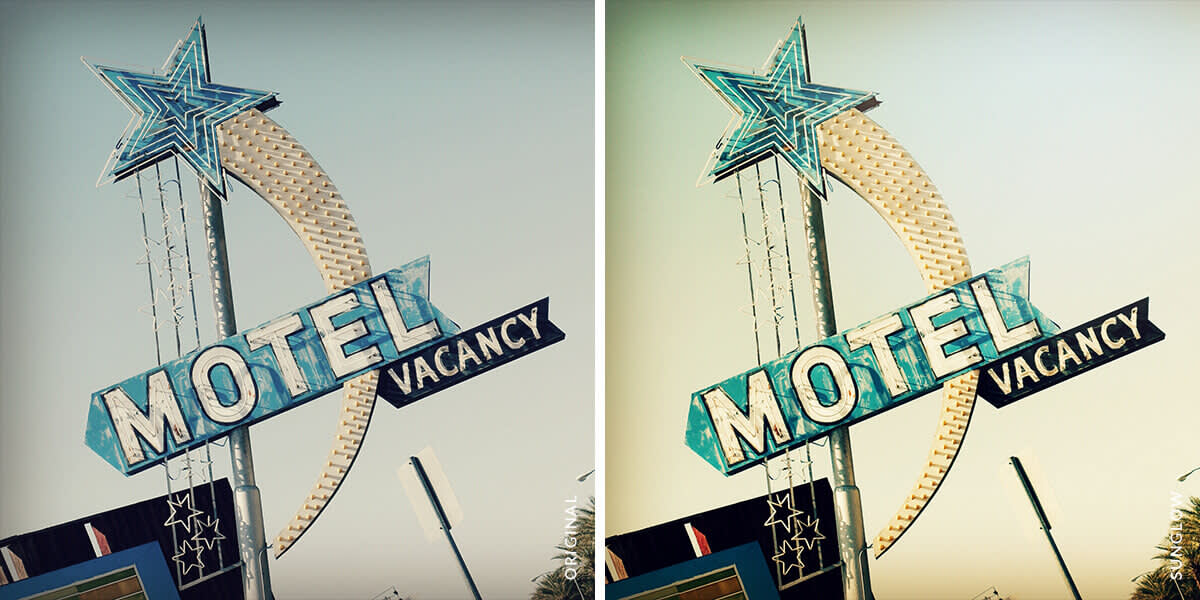
Have you ever put on sunglasses and marveled at how much richer all the colors look? Sunglow mimics that effect by casting a golden glow over your image.
To apply Sunglow, place the focus area in roughly the same spot where the light source is in your image. Adjust the size and the fade until it looks right.
Get serious with Spotlight
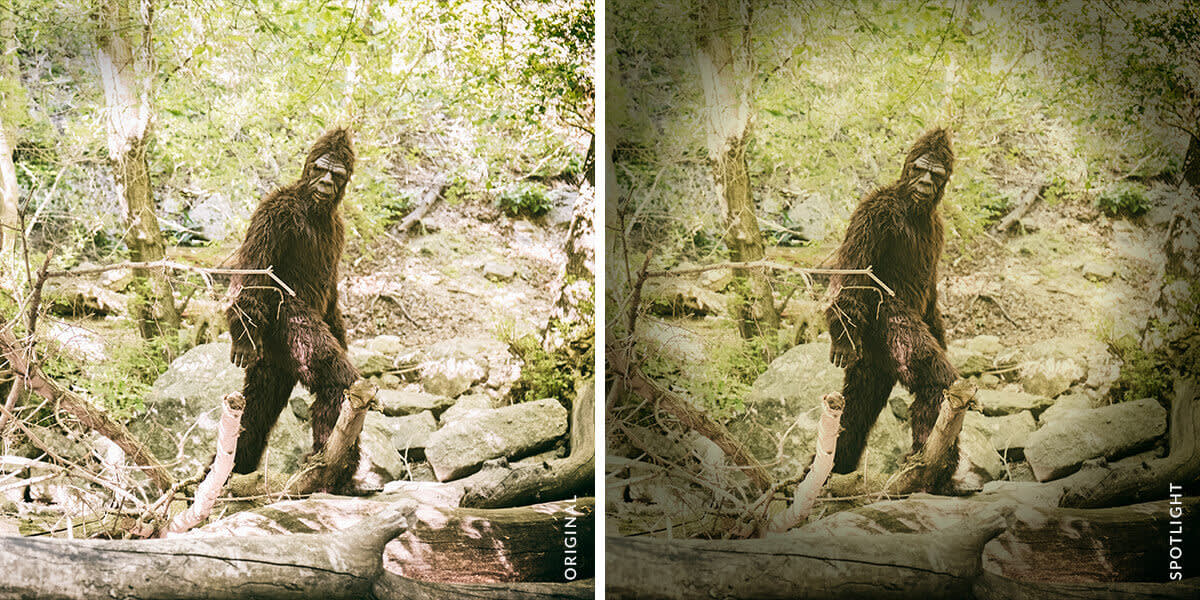
If you wanna add some gravitas to your pic, Spotlight is a quick and easy way to do so. The effect creates a focus area in your image and darkens everything beyond it.
To apply Spotlight, drag the focus area into place and adjust the Focal size and Edge hardness sliders until you fit in everything that you want to highlight. If you want to, adjust the Fade slider to lighten the look of the effect.
