Every year, Shutterstock analyzes what users around the world are searching for. Their Shutterstock.AI performance data has the power to reveal what trends fuel creative projects worldwide. And now, we transfer the power of knowledge onto you – learn how to get trendy with the latest design trends of 2022, starting with On the Road Again.
As Willie Nelson so beautifully wrote: “On the road again, I just can’t wait to get on the road again…” Welcome to Planet Earth, where time is sacred and there are people to see, places to be, and infinite photos to take.
In a world so full of twists and turns, it’s only appropriate to hit the open road with your favorite camping gear, digital camera, and good vibes road-trippin’ playlist.
So queue up those tunes and strap in for ways to infuse The Great Outdoors into your designs with PicMonkey. Plus! We’ll clue you in on how to make a designer-made creation yourself – one that takes you straight to the desert. Let’s get to it!
What is the On the Road Again trend?
While it’s true road trips have always been a readily available form of travel, the last few years have given perspective on how to navigate this wild and precious life of ours (thanks, Mary Oliver).
Whether you choose to fly solo, pack a friend, or plan a full-on family vacation, this trend is all about breathtaking nature scenes.
And don’t forget the full aesthetic – on the road, attire is everything! Whether you’re a mountain biker, hiker, boulder-er, or first-time adventurer, everyone's welcome here. From motorcycles to caravans, Under Armour to athleisure – the rustic, au naturel experience is gaining traction like never before.
Searches for “bike on the road” are up 14,911% with “road to mountain,” “motorcycle on the road,” and “badlands” not too far behind. Note to self: add Halsey’s “Badlands” to Good Vibes Playlist.
Alright, now that we’re all dreaming of our next destination spots, it’s time to bring the outdoors to you with these picture-perfect PicMonkey assets.
Dream up your outdoor adventure with textures & effects
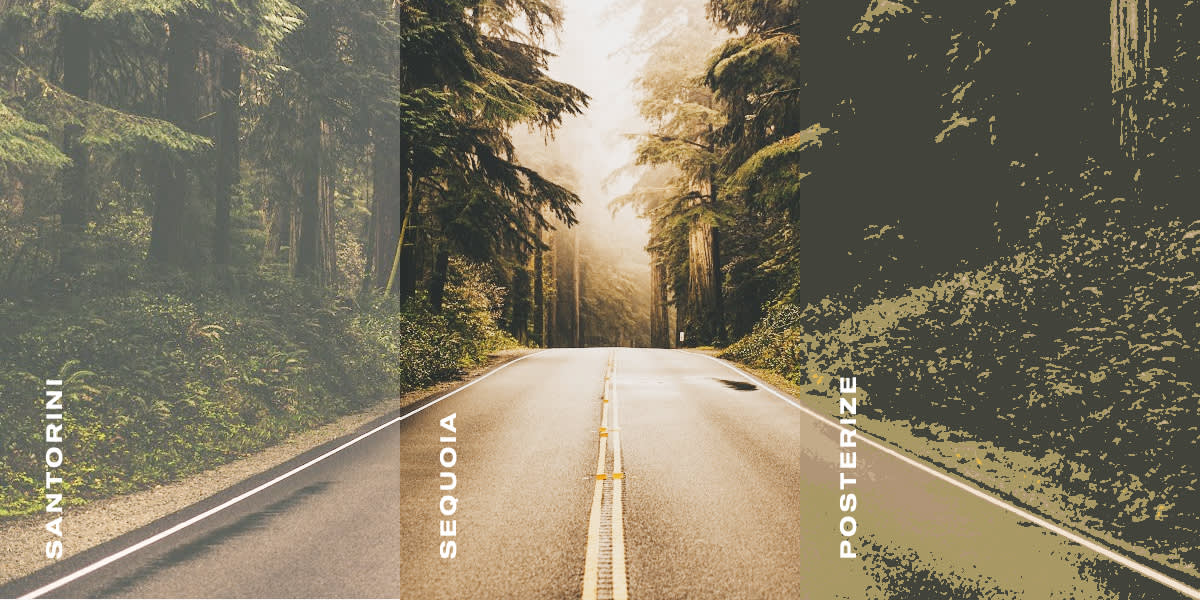
While no one can argue with nature’s beauty, you can adjust its exposure with our effects like Color Amp, Boost, and Soften. Just click the Effects tab on the left tabs menu in PicMonkey.
Lighten, darken, or adjust focal points to your heart’s content.
Outdoorsy graphics that inspire
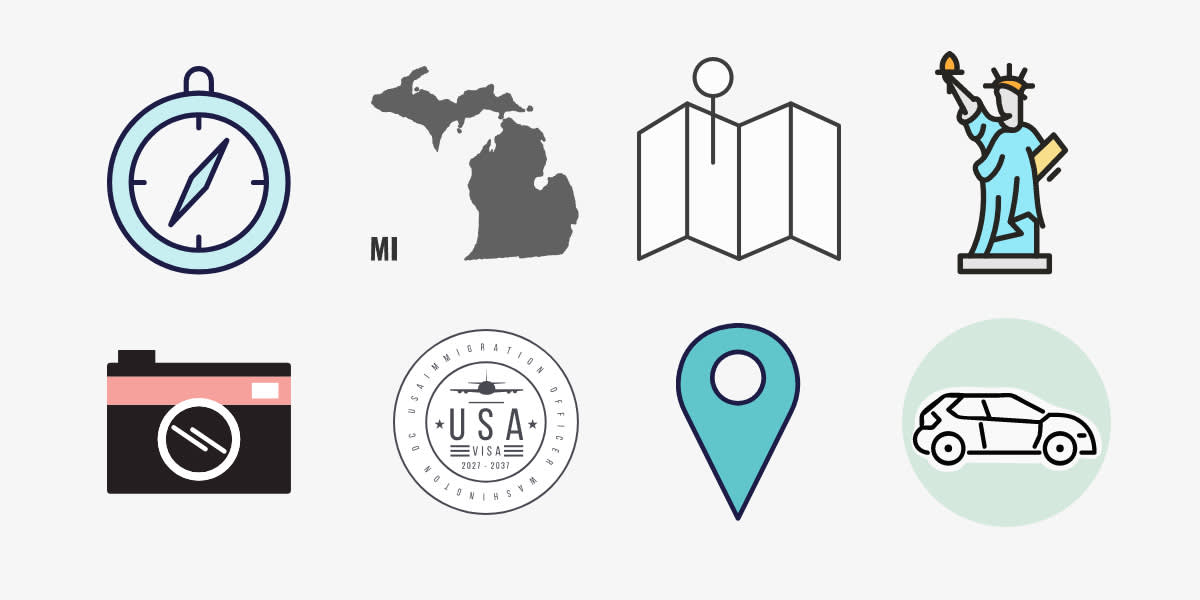
Check it out, adventurers! PicMonkey’s loaded with thousands of graphics to help you capture your best trip of all time or the one you’re manifesting. Use your creation process as a way to relish in the memories, or let it serve as a vision board for future experiences.
To find PicMonkey’s explorer graphics, simply go to the Graphics tab and peruse. You can also search words like “travel” under the same tab, or find road trip specifics like camera, location, car, map, state, or anything else you seek. The world of the road is your oyster!
Grounding fonts to document where you’ve been
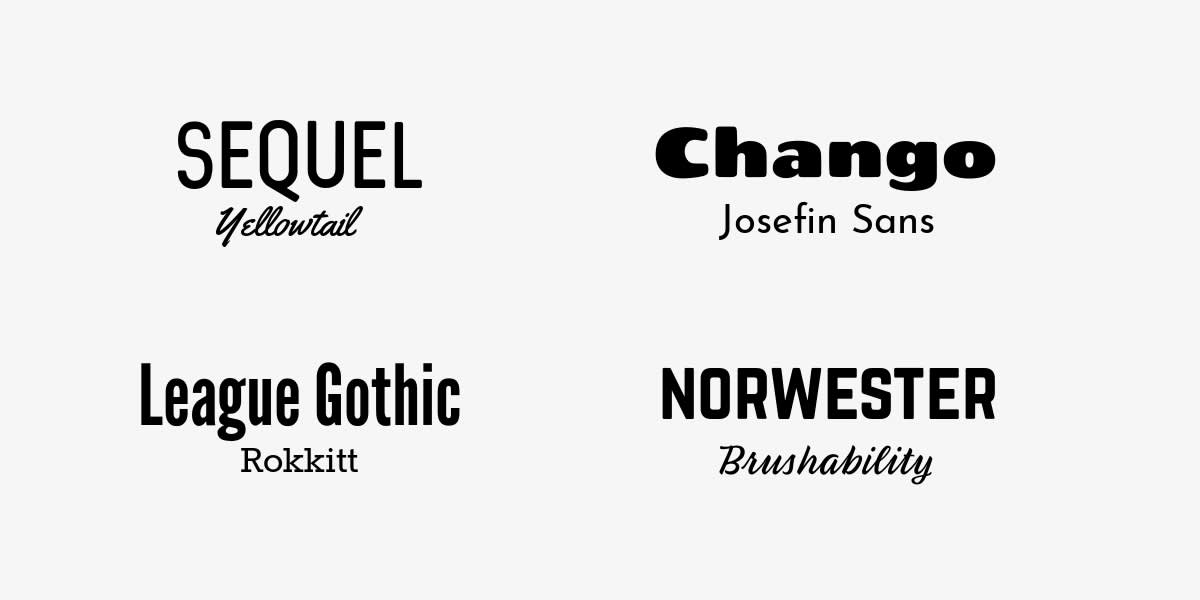
Now’s not the time to be humble about your whereabouts. Boast to friends, family, and your social following about where you’ve been or where you’re going! Try one of PicMonkey’s outdoor-friendly fonts to add a "Look, Ma, I made it!" tagline, or to simply share your location.
In PicMonkey, open the Text tab on the left menu and click Add text to image. Scroll until you find your picture-perfect font, or search League Gothic, Rokkitt, Brushability, and our other font suggestions to finish up your creation.
Get the on the road again look with PicMonkey
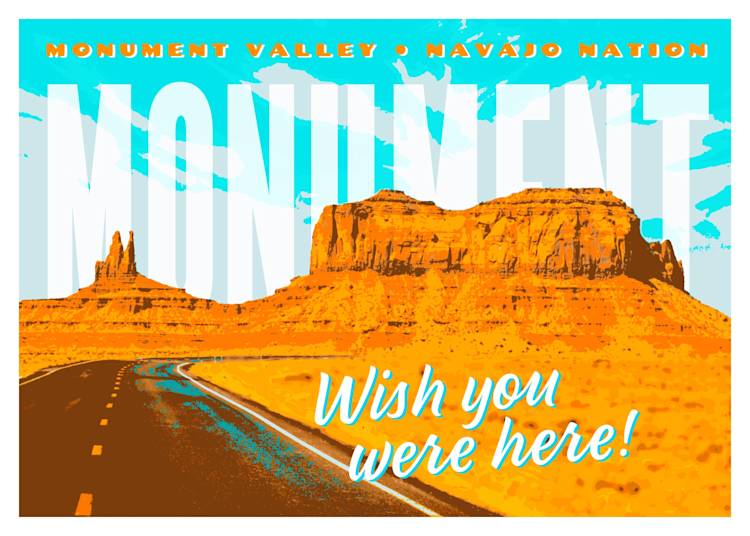
Design by Troy Coleman.
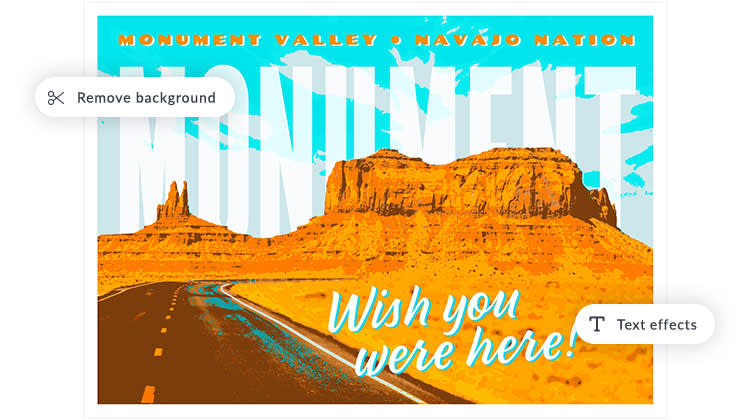
Hello, world, from Monument Valley! It’s time to learn how to make this specially-crafted, designer-made postcard in PicMonkey. Read these detailed steps to replicate this nifty design before you head out on your next adventure.
Greetings from the Valley
Open up a 7 x 5 blank canvas.
Click Collage on the top toolbar and choose the first layout on the left to create a single cell. Adjust spacing so you have a border around your postcard.
Add a photo of Monument Valley by opening the Photos & Video tab on the left. Search for “Monument Valley.”
Go to the Effects tab and click Tuscon. Adjust the Fade slider as desired and click Apply. Next, apply Posterize. You can adjust the detail, saturation, and colors as you see fit!
Now let's add some text, starting with the word “Monument” that’s behind the rock. Open the Text tab and click Add text to add a text layer to your canvas. Type “Monument” in all caps and scroll fonts to find League Gothic Condensed. Enlarge the size to 900 by typing it into the sizing box on the left Text Tools menu. Spread the edges of the text box out big enough to see the whole word on one line.
From here, position the text on top of the rock. Adjust Fade & blend about 50% so you can see the photo through the text.
Use the Erase tool in the Text Tools menu to erase the text that follows the shape of the rock and creates a layered look. Just a single stroke will suffice for now! Once you have an even stroke, you can enlarge the eraser size and touch up areas that still have text on the rock. (Pro Tip: keep the text that appears over the sky. And don’t be afraid to make a mistake! You can always paint back areas where you didn't mean to erase.)
Once you’ve finished erasing, use the Fade & blend controls again to blend your text even more (we opted for between 0-12%).
Add your headline. Scroll through the Fonts menu (or use the search bar) to find Chango and customize your message: “Monument Valley, Navajo Nation.” Use the Text Tools menu to change text color and add a drop shadow. Use the Intensity, Fade, and Blur sliders to find your optimal look.
Complete your vacation correspondence with a classic “Wish you were here!” message. Try out the script font, Brushability. Then, add another drop shadow, climate-related colors, and voila!
There’s nothing quite like being on the road, but be sure to give yourself time to reflect, create, and circulate your best nature-fueled designs for all to see. The world awaits your discoveries, so get going!
