Actors and real estate agents have long known the importance of the go-to headshot, but in today’s world of social media profile photos and company “about” pages, an inviting and professional picture has become essential regardless of your occupation. There are plenty of ways to make sure your fabulousness translates to the camera while the shutter is snapping, but a few small edits after the fact can make a subtle, yet stunning difference. These tweaks will help you make sure you’re putting your best face (and neck and shoulders) forward in all of your profile photos, without looking totally airbrushed.
Crop

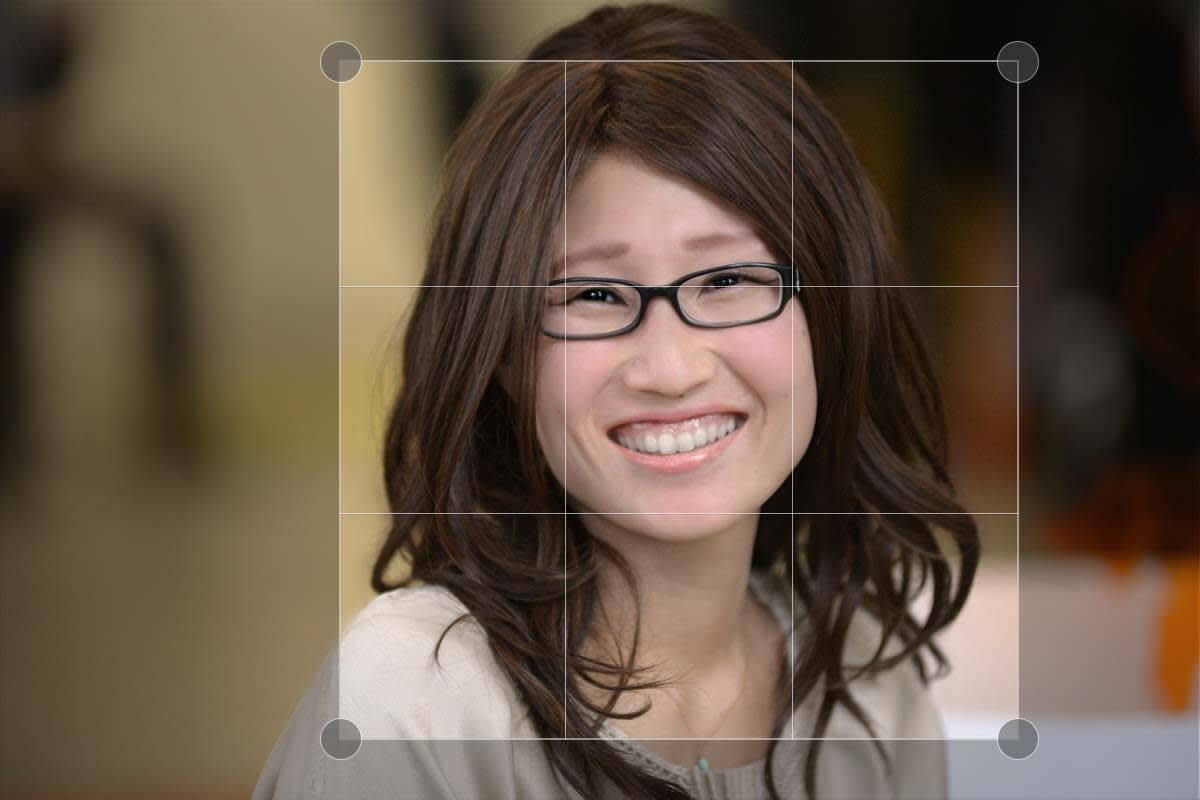
There’s a reason we consider cropping an essential edit for any and every photo: it can do a whole heck of a lot of good with minimal effort. For example, cropping can improve composition and put the focus on your subject (meaning, your good-lookin’ face). When cropping a headshot, make sure you leave a little bit of your shoulders in the frame, or you could end up giving off the spooky floating head vibe.
If you have size specifications for your headshot, we’ve got your back. In Crop, explore the preset options in the drop-down menu or specify your own dimensions, then click Apply. You can get even more cropping tips and tricks right over thisaway.
Touch ups

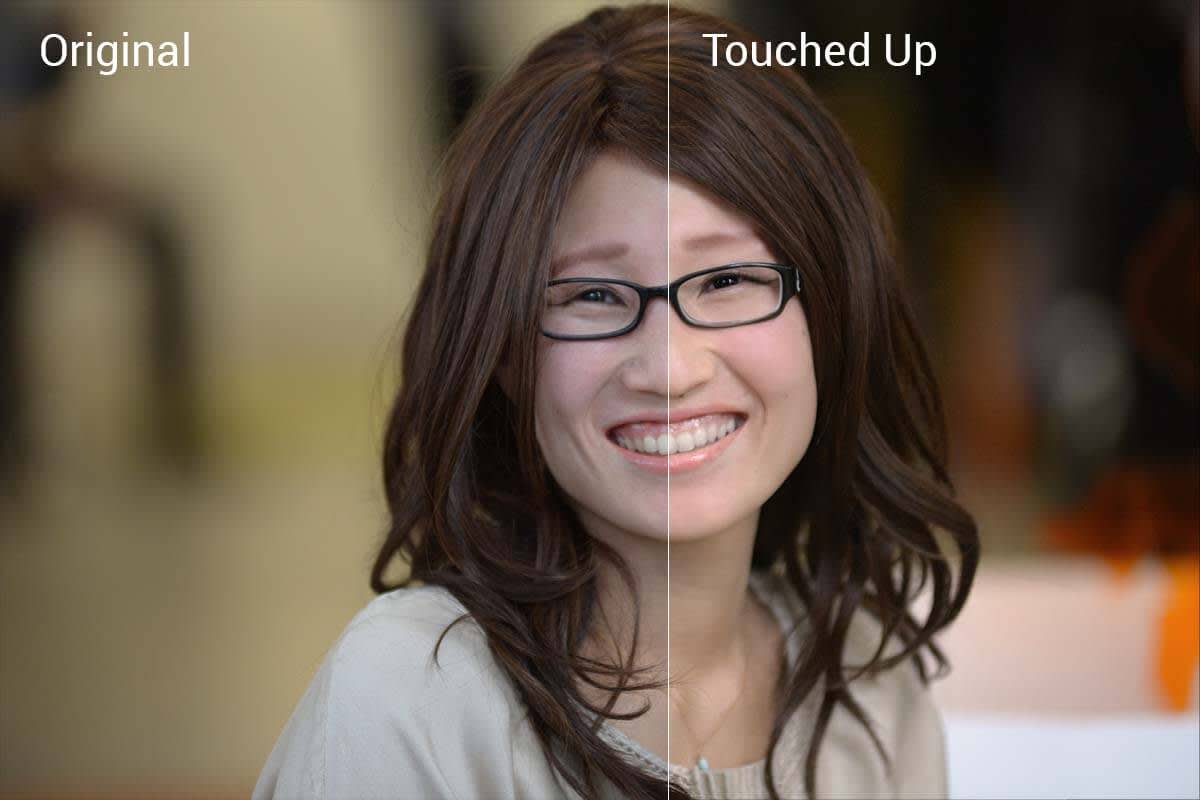
Sometimes stray hairs happen and poppin’ eyes don’t completely translate to the camera. Instead of taking a mulligan on your photo shoot, identify what you’d like to remedy and head to the Touch Up tab. There, you’ll find effects with pretty straightforward names like Eye Brighten, Teeth Whiten, and Lip Tint. Adjust the brush size and use the Fade and Strength sliders to apply just the right amount of each effect to your fine features. The before/after button in the top toolbar is also handy when trying to keep everything looking natural.
One-click effects

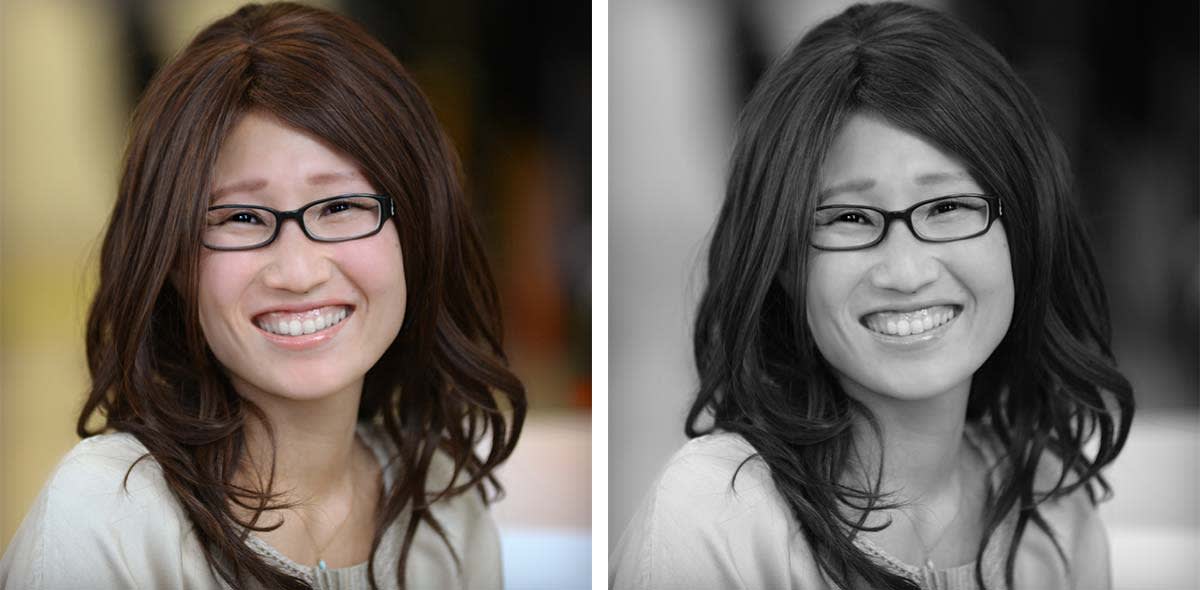
One-click effects provide a speedy way to enhance your headshots. Exposure, in the Basic Edits tab, makes it simple to get things looking right, with the Auto adjust button. If your photo is a bit noisy, check out Black and White in the Effects tab. Urbane is useful if you want to keep your hues—it’ll add a little darkness to the edges of your image and ramp up your colors. Adjust the intensity with the Fade slider to give your headshot a warm, approachable feel.
