Sizing your photo correctly can turn into a real Goldilocks situation—resize a picture too big and it takes eons to load, or size a picture too small and it’s a blur. Never fear! We’re here to help you get your proportions just right using PicMonkey’s Crop and Resize online photo editing tools. We'll cover e-v-e-r-y-t-h-i-n-g you need to know, including:
Cropping vs. resizing—what's the difference?
How to crop and make a photo a specific size
How to resize images without cropping
How to size a picture for social media
Converting images from pixels to inches (super simple!).
How to crop photos using PicMonkey mobile.
See, we really meant everything. Plus, learn what our Smart Resize tool is all about (hint: resize multiple versions of an image in one fell swoop—amazing!). Let's get to it.
Cropping vs. resizing images
Cropping and resizing are both common photo editing techniques; however, they are not one and the same:
Cropping pictures
When you crop a photo, you remove part(s) of it. Why you might crop an image:
To change an image's aspect ratio (often the case when you want to post something on a social channel and make sure it abides by the sizing laws of said social channel).
To change the look of your image; say, for example, there's a specific object or area of the photo that you want to remove.
When printing, so that your image will fit on a specific piece of paper or into a frame.
Resizing pictures
Unlike cropping, when you resize a picture, it'll make the file size and resolution either smaller or larger. Be careful with the latter, as it can jeopardize your image quality. Photos have pixels to lose, but adding new ones will eventually cause distortion. Luckily, our Resize tool lets you lock your proportions so that your image stays intact.
Crop your photos to the right size
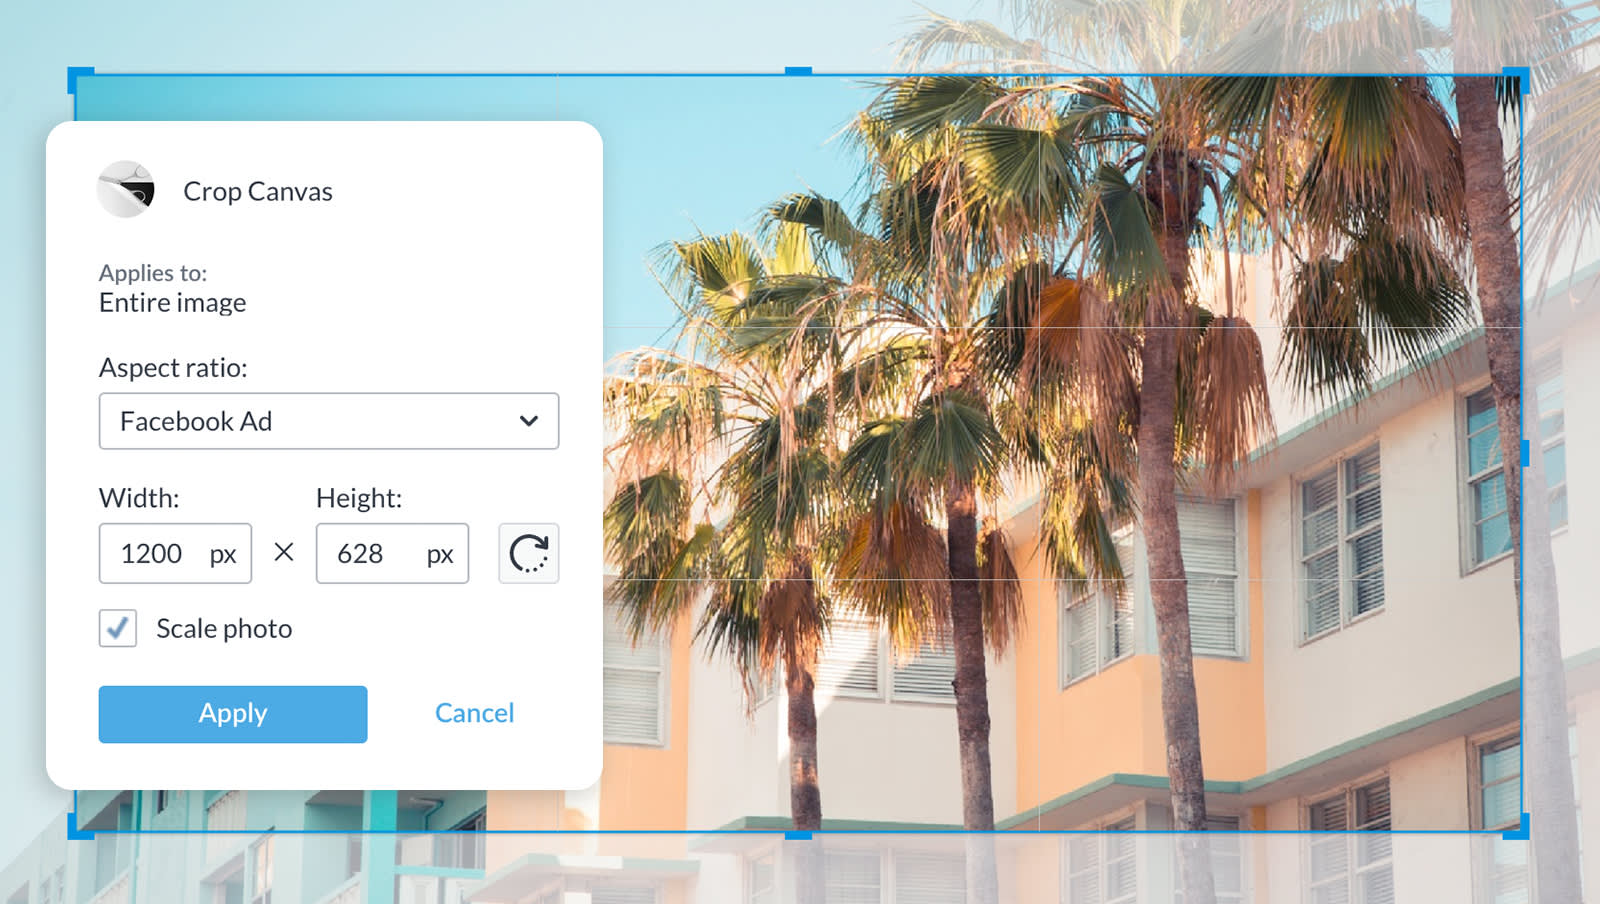
When it comes to cropping photos, you've got a couple of options. Here's how to crop your photo to the right size when the image is and is not the background layer.
To crop a photo in PicMonkey when your image is the background layer:
Click Create new and open your image in PicMonkey.
Click Crop Canvas in the Edits menu on the left.
Use the preset crop proportions in the drop-down menu to accurately crop your image. (We’ve got standard printing sizes and screen sizes all set up for you.)
Get specific with pixels in the Width and Height fields.
Use the Rotate crop button to go from a horizontal to vertical (or vice versa) cropping area.
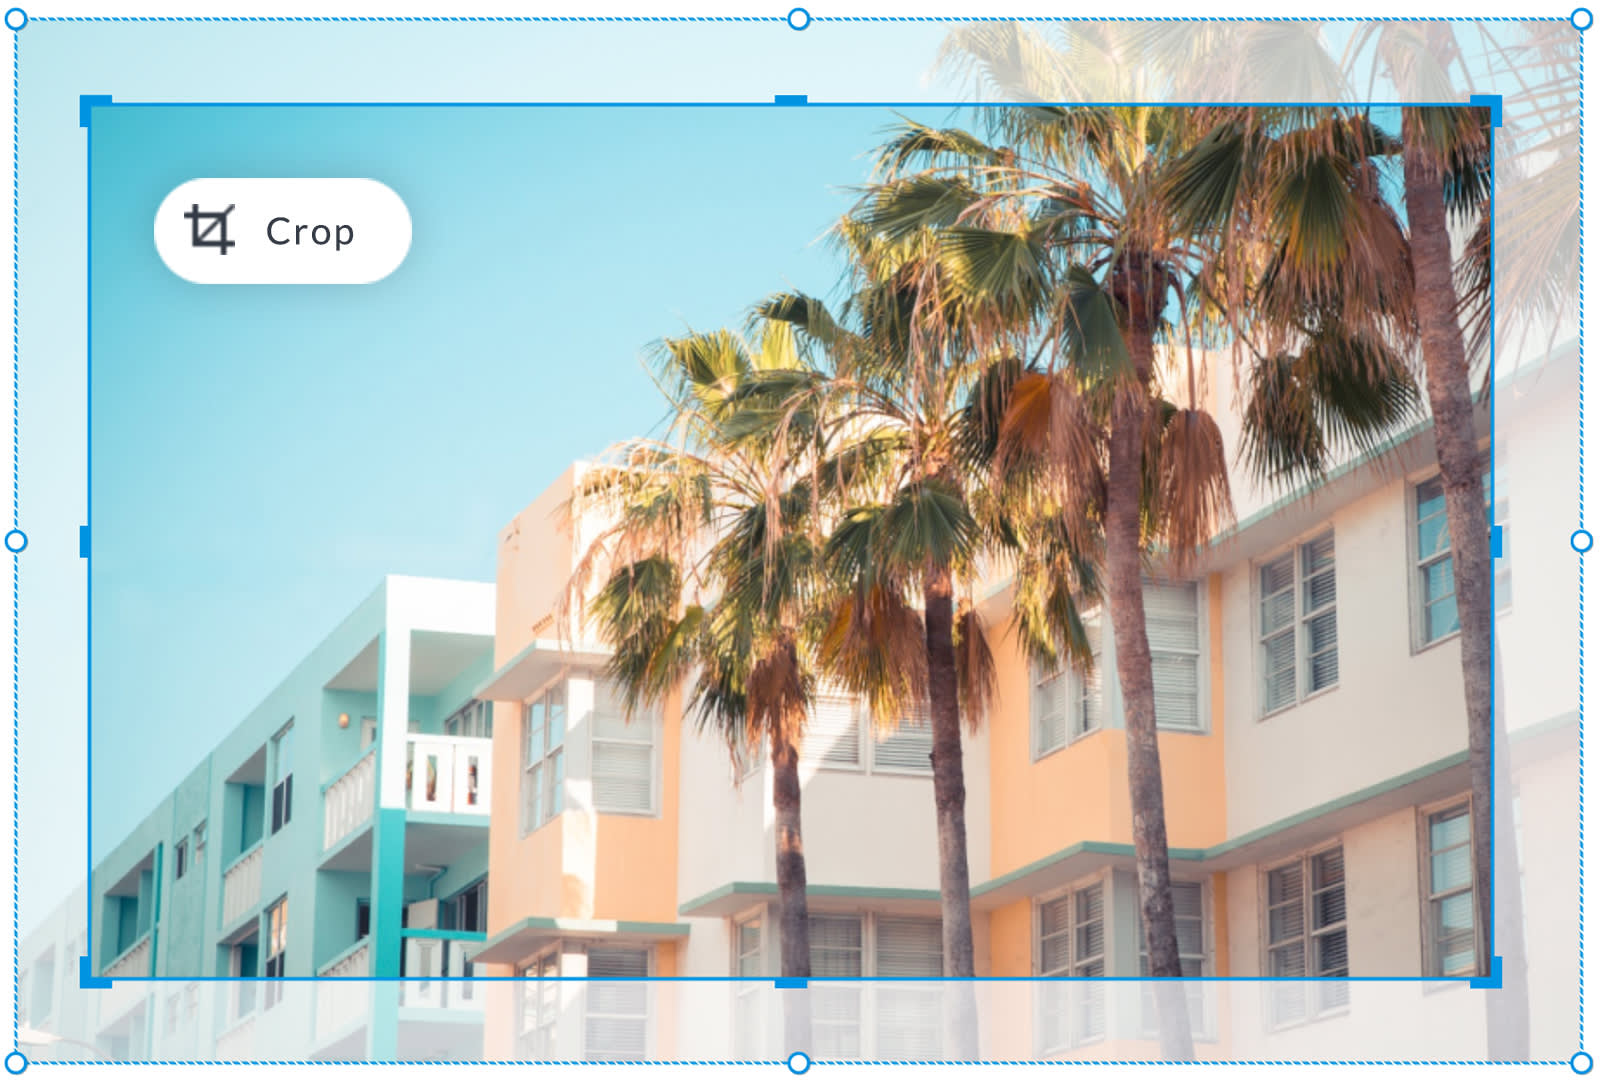
When a photo is its own layer, you can crop it independently of the background layer(s) using the Image Tools menu on the left panel.
To crop a photo in PicMonkey when your image is not the background layer:
Select the image layer on your canvas.
Click the Crop layer button on the Image Tools menu.
Drag your image within the bounding box, or use the handles to crop as desired. Done!
How to crop a video
Use Crop layer in the Video Tools menu to change the shape of your video. Use Trim to remove frames from the front or back end of the clip.
PicMonkey lets you easily crop your videos, too. This is super handy if you want to fit your video into a square or thinner context—like an Instagram post or in a video template.
To crop a video in PicMonkey:
Click Create new and open your video clip in PicMonkey.
Convert your video to a layer by clicking the padlock icon on the Layers panel.
Click to select your video. In the Video Tools menu, click Crop layer.
Move the blue crop handles to change the dimensions of your video.
When finished, click Apply.
Note that cropping your video doesn't change its playback length—use Trim to make your video length shorter.
Learn more about designing with video:
Resize a photo without cropping
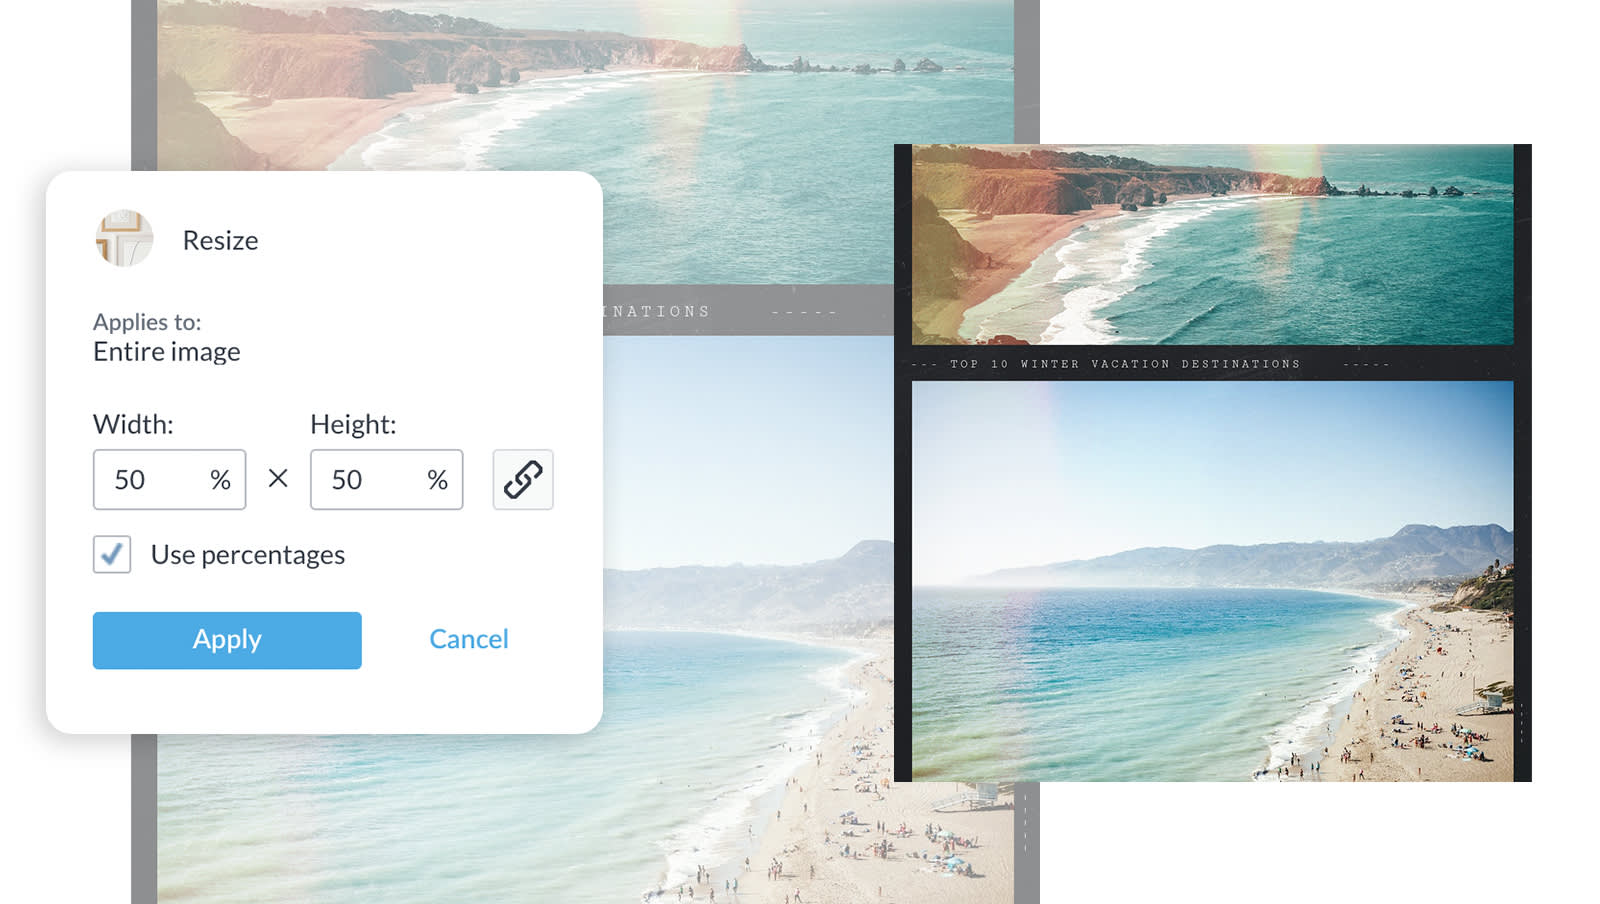
If cropping isn’t what you’re looking for and you want your full image to be smaller or larger:
Click Resize in the Edits menu on the left.
Use the checkbox to switch between pixels and percentages and play with your image’s proportions.
Make sure the Keep proportions box (chain icon) is clicked; the chain will appear 'linked' — this will automatically update the height or width of your photo when you modify one or the other, so your design stays “as is” as you size it up (or down).
Properly size a picture by converting pixels to inches
Figuring out how many pixels are in an inch can feel a lot like figuring out how many jellybeans are in a jar. If you need a specific size for your printables (like the perfect wallet size photo dimensions) get rid of the guesswork with our handy pixels to inches chart, which provides suggested image sizes in pixels for common photo sizes in inches.
Pixels to Inches Conversion Chart
| SIZE IN INCHES | SIZE IN PIXELS |
|---|---|
| 3 X 5 | 900 X 1500 |
| 4 X 6 | 1200 X 1800 |
| 5 X 7 | 1500 X 2100 |
| 8 X 8 | 2400 X 2400 |
| 8 X 10 | 2400 X 3000 |
| 8.5 X 11 | 2550 X 3300 |
| 9 X 16 | 2700 X 4800 |
| 11 X 14 | 3300 X 4200 |
| 11 X 16 | 3300 X 4800 |
Size a picture for social media
Get to know social media sizes to protect your work and so your posts look their best wherever they are displayed. To make sure your photos look drop-dead gorgeous on all of your social media channels while avoiding the dreaded “file too small” or “file too large” messages, visit our chart of common social media image sizes, then crop and resize away.
Don’t feel like thinking about it? Use the Crop tool to quickly find the correct aspect ratio for your desired social channel. You can also start with a pre-sized social media template or blank canvas so that you never have to worry about sizing-gone-wrong. If you're on PicMonkey mobile, scroll through the carousel under Start a new design to select the correct social size.
Want more? For more on all things social media sizing, check out:
...Yeah, that should do it. And more easily, if you need to size an image for multiple channels, then meet...
PicMonkey's Smart Resize tool
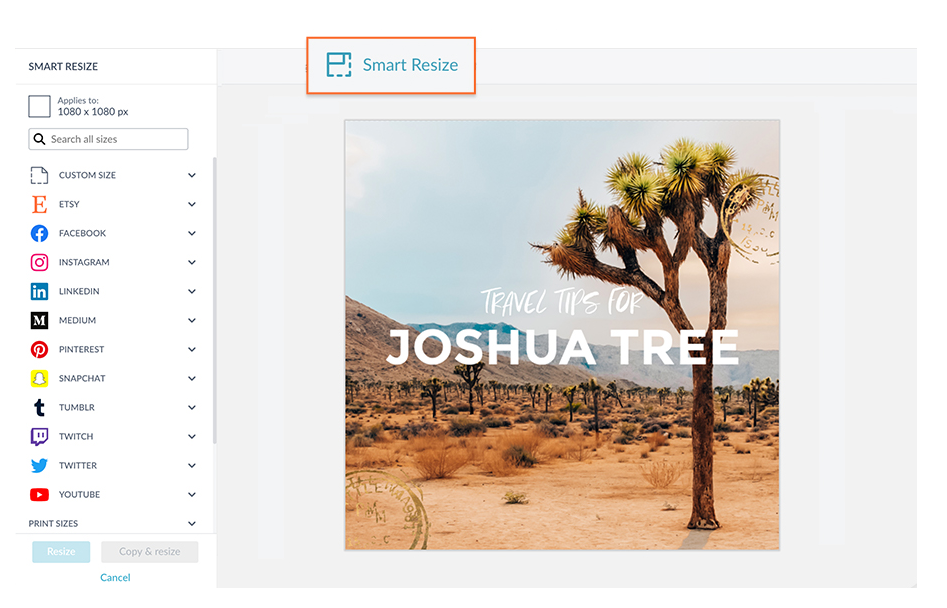
Pro subscribers can use the magical Smart Resize tool to create multiple versions of a design in just seconds. It's like the difference between washing clothes in a creek vs. throwing a load in the washing machine. That is to say: waaaaaaaay faster and easier on your hands.
To use Smart Resize in PicMonkey:
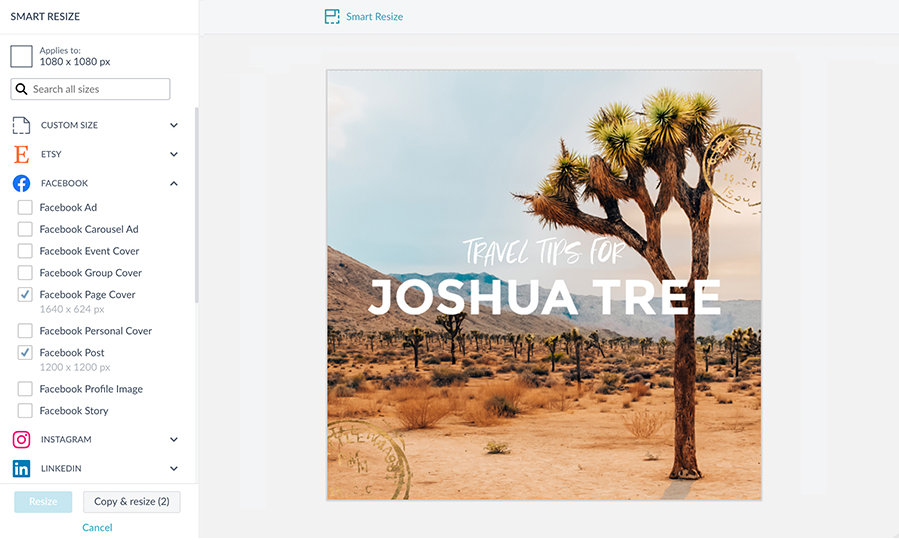
With your design open, click Smart Resize in the top toolbar.
In the left menu, expand the sections by clicking the little caret next to the label, and click the checkbox next to every size you want. You can use the search box to find a size too.
![]()
At the bottom of the menu, click Resize to simply alter the current image to the new size, or Copy & resize if you want to keep the original as is while creating a resized version as well.
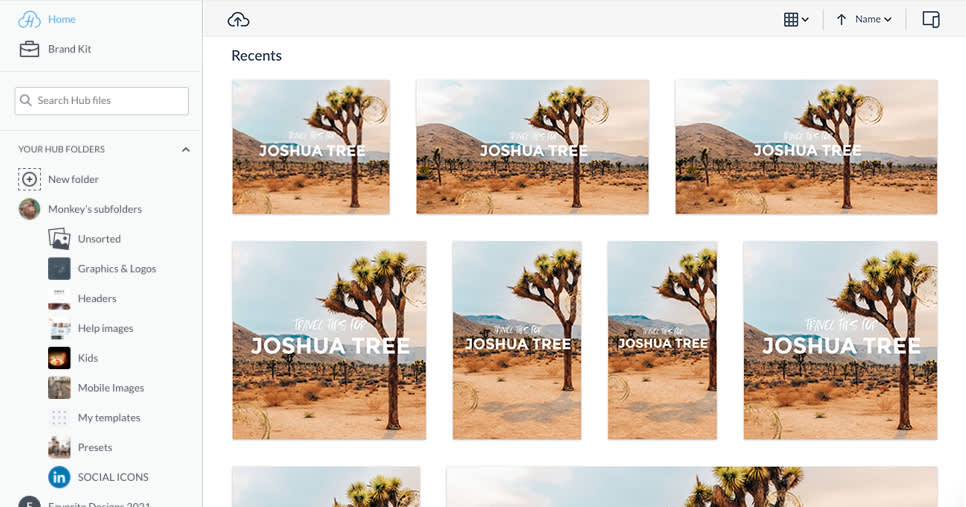
All set! Check Hub to see all your new sizes.
Save images right for print or sharing
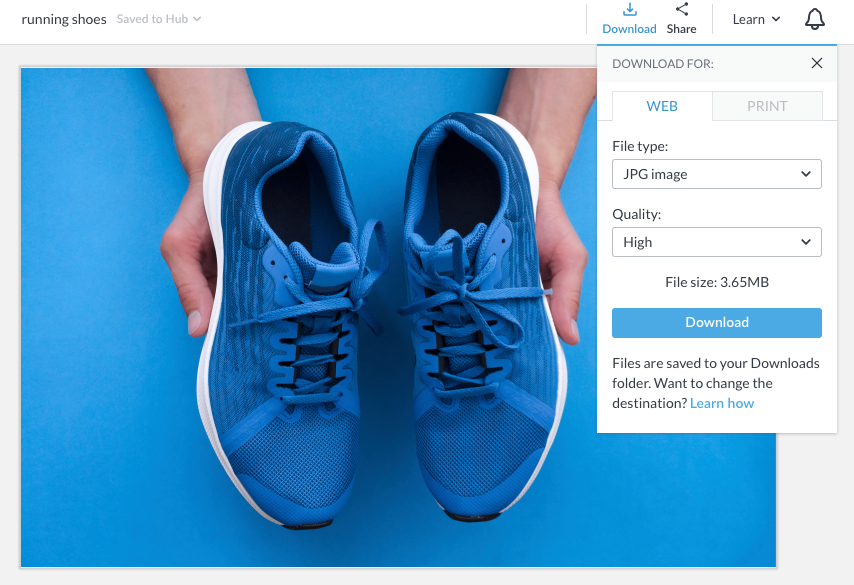
The war between file sizes and image quality may never end, but we’re proposing a ceasefire. When you click Download on the top toolbar in PicMonkey, you’ll have the option to save it as a JPG, PNG, or PDF (Pro feature) and as MP4 or GIF if your file contains an animated element like a video or an animated graphic. For photos, PNG is the best quality, but it will be a larger file. You could opt for the JPG option if you need a smaller size (for web, for instance). JPGs have three quality levels to choose from:
Low: Lesser quality, but tiny file size
Medium: Great quality, good file size
High: Gorgeous, but large file size
You’ll notice that the file size is displayed with each size option. Select the one that offers the ideal balance between image quality and image size, and rest assured that your file size is juuuust right.
Crop your photo to the right size on our mobile app

Good news ladies and gents — you can also crop your photos on the PicMonkey mobile app! Just load your image and tap Edit in the bottom toolbar. Tap Crop, then adjust the bounding box or choose a preset size from the carousel directly under your photo.
Ready to create on the go? Get after it!


Sweet. Now you can upload directly to social with just a few taps. Phew! Nice work, Creators. Onto the next!
